
How to Fix a Sticking Door Handle: Simple Solutions for Everyone
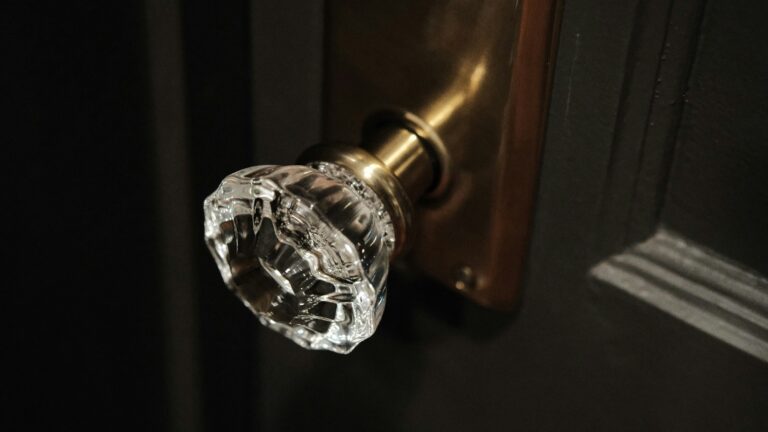
Photo by Egor Myznik on Unsplash. Download
Photo by Egor Myznik
on Unsplash.
Download
Is your door handle refusing to cooperate, sticking in place instead of turning smoothly? A sticking door handle can be a nuisance, disrupting the seamless opening and closing of doors in your home. Fortunately, addressing this common issue is straightforward and can be accomplished with a few basic tools and some patience.
In this guide, we’ll walk you through simple, effective solutions to fix a sticking door handle, whether it’s due to loose screws, misaligned components, or a build-up of grime. Gather your tools, follow our steps, and soon your door will be functioning as intended once again.
What You’ll Need
* Links marked with an asterisk are affiliate links to Amazon. We may earn a small commission if you buy through them at no extra cost to you.
Step-by-Step Guide
Step 1: Check for Loose Screws
If your door handle feels loose or doesn’t turn smoothly, the simplest fix is to check for loose screws. Use a screwdriver to tighten the plates on both sides of the door. Ensure all the screws are securely fastened without over-tightening, which might cause further damage.
Step 2: Clean and Lubricate
Dust and grime can accumulate inside the handle mechanism, causing it to stick. Remove the handle using a screwdriver, then clean the interior parts with a damp cloth. Once cleaned, apply a lubricant spray sparingly to the moving parts to ensure smooth operation.
Step 3: Readjust the Alignment
If the handle still sticks, it might be misaligned. Loosen the screws slightly and adjust the handle’s position so it lines up better with the latch. Retighten the screws carefully, maintaining this new, correct alignment.
Step 4: Replace Worn Components
Inspect all components of the handle assembly. If any screws are stripped or parts are worn out, replace them with new ones. This is often necessary for older handles that have seen a lot of use.
Step 5: Reassemble and Test
Once you’ve cleaned, lubricated, realigned, and replaced any worn parts, reassemble the handle. Ensure all components are secure and test the handle several times to check for smooth operation. Repeat any previous steps if issues persist.
- Use a multi-bit screwdriver to match various screw types and sizes.
- Regularly maintain door handles to prevent sticking.
- Keep lubricant sprays handy for routine maintenance.
- Test the handle after each adjustment to ensure progress.
- Consider replacing the whole handle if problems persist.
Always use tools carefully to avoid injury. Be mindful of sharp components when disassembling handles. If using lubricant, work in a well-ventilated area and follow the product instructions. Ensure the door remains supported while working to prevent it from swinging or closing unexpectedly.
Final Thoughts
By following these steps, you’ve learned how to effectively tackle a sticking door handle and restore its smooth operation. Regular maintenance can prevent many common handle issues, so keep these tips handy for future reference. You’re now equipped to handle this task and ensure all the doors in your home function flawlessly.
More information
If you want to go a bit further, these guides should help:
- Best electric screwdrivers for beginners – Best Electric Screwdrivers for DIY Novices — Tried & Tested 2026
- Top tool storage solutions for DIYers – Best Tool Storage Options for Organised Home Repairs — Tried & Tested
- Versatile multi-tools for quick home repairs – Best Multi-Tools for Quick Fixes in 2026 — UK Buyer’s Guide
- Choosing the right hammer for home repairs – Best Hammers for Home Repairs in 2026 — UK Buyer’s Guide