How to Craft a Shelf from Old Decking: A Gardener’s DIY Guide
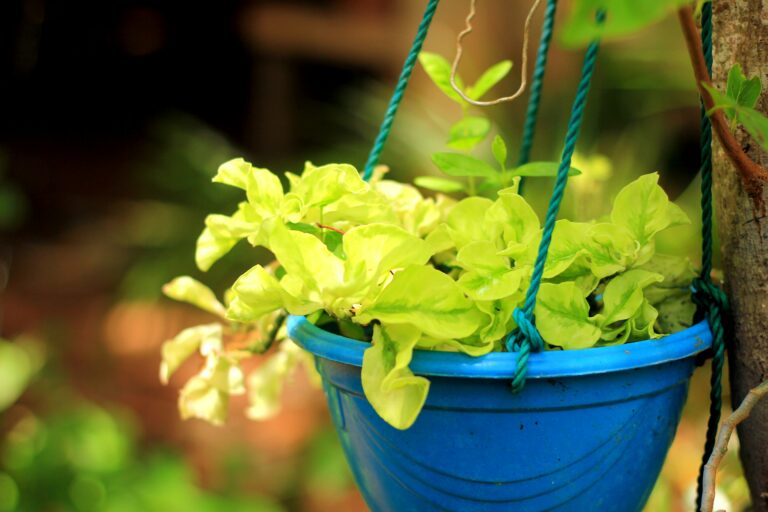
Photo by Bailey Alexander on Unsplash. Download
Photo by Bailey Alexander
on Unsplash.
Download
Welcome to your next exciting project! Whether you’re looking to tidy up your garden or simply add more growing space, crafting a shelf from old decking is a rewarding activity. Not only is it environmentally friendly by giving your old materials a second life, but it also adds a rustic charm to your garden. This guide is designed to help gardeners like you transform weathered decking into a sturdy, functional shelf that complements your green space.
With just a few tools and some creativity, you can create a practical piece of garden furniture. Imagine having a new spot for potted plants, gardening books, or tools, crafted with your own hands. Follow our comprehensive steps to make this DIY project an enjoyable day spent in the garden.
What You’ll Need
* Links marked with an asterisk are affiliate links to Amazon. We may earn a small commission if you buy through them at no extra cost to you.
Step-by-Step Guide
Step 1: Select and Prepare Your Decking Boards
Start by choosing the best pieces of old decking that are in good condition. Check for any signs of rot or damage and avoid using those parts. Clean the boards thoroughly to remove any dirt or grime. Once cleaned, sand down the surface to ensure a smooth, safe finish.
Step 2: Measure and Cut Your Boards
Decide on the dimensions of your shelf according to the space you have. Measure out your pieces: two for the sides, one for the back, and several for the shelves, depending on the size you want. Use a hand saw to cut the boards to size, making sure all measurements are accurate.
Step 3: Assemble the Frame
Once all your pieces are cut, begin by attaching the side boards to the back piece, forming a U-shaped frame. Drill pilot holes to prevent splitting, then secure the boards with wood screws. Ensure the frame is square and stable before proceeding to the next step.
Step 4: Install the Shelves
Decide the height for each shelf, ensuring there is ample space for tall plants if needed. Mark the positions and attach the shelves within the frame, using screws to fix them securely. Double-check that each shelf is level before proceeding.
Step 5: Sand and Finish
Once assembled, give your shelf another round of sanding to smooth out any rough edges or surfaces. Apply a coat of wood stain or paint according to your preference to protect it from the elements and give your shelf a polished look.
- Use outdoor-grade screws to prevent rusting.
- Consider waterproofing the shelf if exposed to heavy rain.
- Test-fit all pieces before screwing to ensure they align properly.
Always wear safety goggles and a mask while cutting and sanding the wood to protect yourself from dust and debris. Keep your work area tidy to prevent accidents, and handle tools responsibly.
Final Thoughts
Congratulations on completing your garden shelf crafted from old decking! Not only have you created a useful piece of furniture, but you’ve also contributed positively to the environment by upcycling materials. Enjoy your handiwork and the added functionality it brings to your garden. Keep exploring new DIY projects to continually enhance your gardening space!
More information
If you want to go a bit further, these guides should help:
- top power washers for decking makeovers – Best Power Washers for Decking Makeovers in 2026 — UK Buyer’s Guide
- best circular saws for precise cutting – 5 Best Circular Saws for Precision Cutting — Tried & Tested
- budget-friendly sanders for DIY projects – 7 Best Budget Sanders for Home Projects in 2026
- recommended mallets for garden DIY – Best Mallets for Garden Projects in 2026 — UK Buyer’s Guide
- step-by-step guide to laying patios – A Novice’s Guide to Laying Your First Patio: Step-by-Step Instructions