How to Fix a Leaking Washing Machine
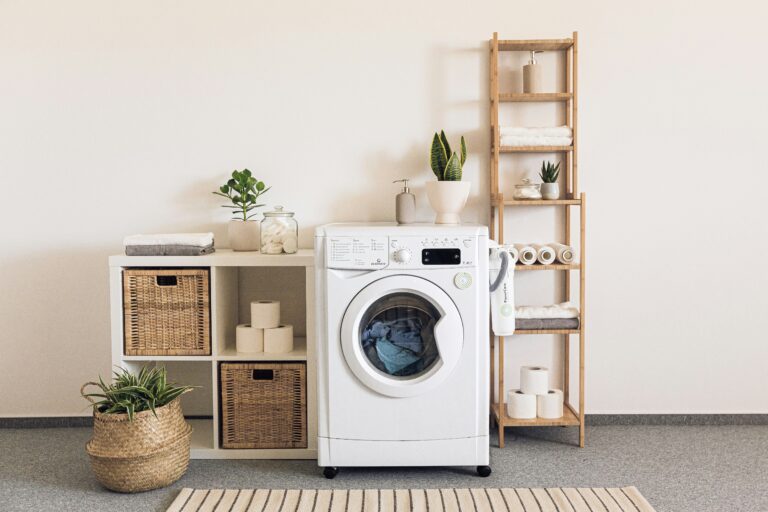
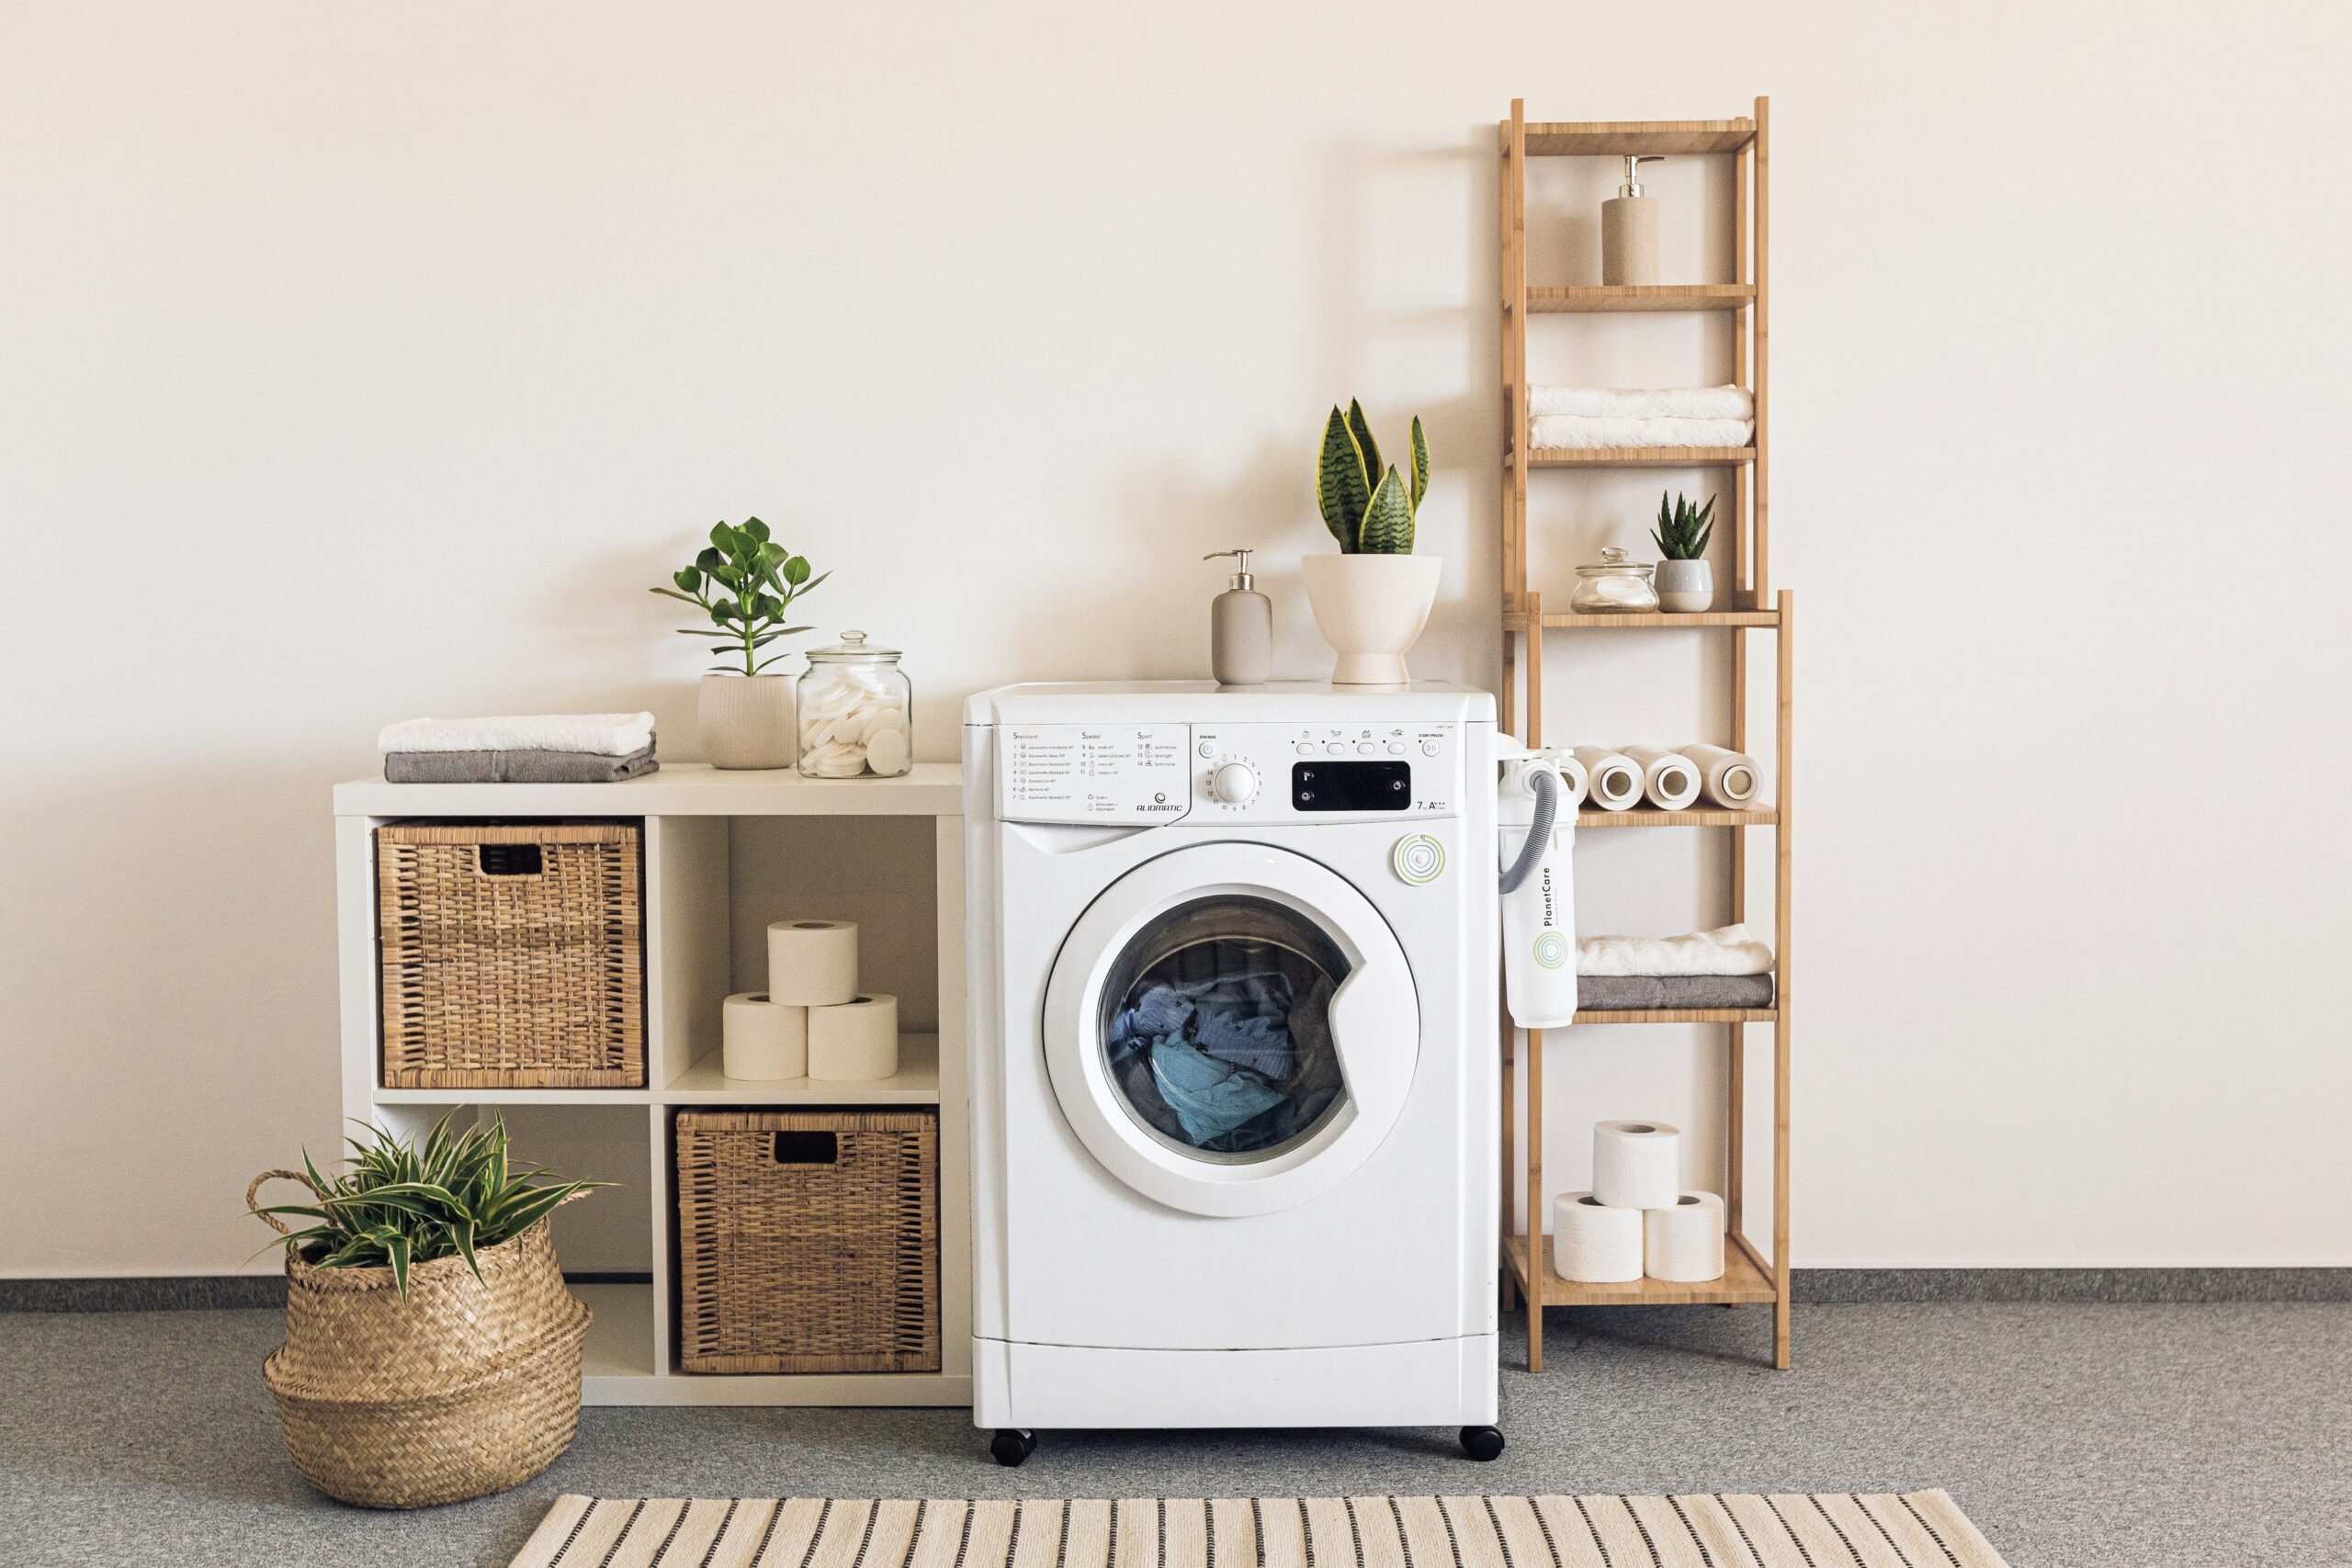
Photo by PlanetCare on Unsplash
A leaking washing machine can turn laundry day into a frustrating mess. Not only does it lead to water wastage, but it can also damage your floors and lead to costly repairs if left unchecked. Fortunately, many leaks are caused by issues that are easy to diagnose and fix.
In this guide, we’ll walk you through the common causes of washing machine leaks and provide you with step-by-step instructions on how to address them. By the end of this article, you’ll be equipped with the knowledge to tackle most washing machine leaks on your own.
Tools Required
- Adjustable wrench
- Screwdriver set
- Bucket or container
- Towels or rags
- Replacement hoses or gaskets (if necessary)
Safety Warnings
- Always unplug your washing machine before attempting any repairs to avoid electrical shocks.
- Be cautious of sharp edges inside the washing machine that can cause injuries.
- Ensure the water supply is turned off before disconnecting any hoses.
Why This Problem Happens
Leaking in washing machines is often caused by worn or damaged hoses. These hoses can develop cracks or become loose over time, leading to water escaping during the wash cycle. Additionally, the gaskets that seal connections between hoses and the machine may wear out, causing water to seep through.
Another common cause is overloading the machine, which can lead to an imbalance and cause water to splash out. Detergent build-up can also create pressure inside the machine, leading to leaks from the door seal or other parts.
Step-by-Step Instructions
Step 1: Inspect the Hoses
Check all the hoses connected to the washing machine for any visible signs of damage such as cracks or leaks. Ensure that the connections are tight and secure. If you find any damaged hoses, replace them with new ones.
Step 2: Check the Gaskets
Examine the gaskets in the door and around the hose connections. If they appear worn or damaged, they need to be replaced. Use the appropriate replacement gaskets and ensure they’re properly fitted to prevent future leaks.
Step 3: Examine the Door Seal
Inspect the door seal for any signs of wear or damage. Clean it thoroughly to remove any detergent build-up which could be breaking the seal during operation. Replace the seal if necessary.
Step 4: Level the Washing Machine
Use a spirit level to ensure that your washing machine is sitting evenly on the floor. An unlevel machine can cause excess movement and lead to leaks. Adjust the feet of the machine to achieve a balanced position.
Step 5: Run a Test Cycle
After making adjustments, run a short washing cycle without clothes to check for leaks. Watch closely at the points where the leaks were occurring to ensure the problem has been resolved.
Common Mistakes to Avoid
- Ignoring small leaks can lead to bigger issues later.
- Overtightening connections can damage hoses and seals.
- Failing to level the machine can cause repeated leaks.
Troubleshooting Tips
Water is still leaking after replacing hoses.
Double-check the hose connections and ensure the gaskets are correctly fitted. Look for leaks from other parts of the machine.
The machine is balanced but still leaks.
Inspect the detergent drawer and door seal for build-up and clean thoroughly.
Frequently Asked Questions
Why does my washing machine leak only during the spin cycle?
This could be due to an imbalance caused by overloading or a faulty door seal. Check for any obstructions or damage around the door seal.
Can a clogged filter cause my washing machine to leak?
Yes, a clogged filter can cause water to back up and leak out. Regularly cleaning the filter can help prevent this issue.
How often should I inspect the hoses of my washing machine?
It’s a good practice to inspect your washing machine hoses every six months for signs of wear or damage.
Is it normal for a washing machine to leak a little?
No, even a small leak should be addressed promptly to prevent further damage.
What type of hose is best for washing machines?
Braided stainless steel hoses are recommended as they are more durable and resistant to bursting than rubber hoses.
When to Call a Professional
- If the leak persists after all DIY attempts, it may indicate a more serious internal issue that requires professional attention.
- Contact a professional if you notice any electrical issues associated with the leak, as this could pose a safety hazard.
Final Thoughts
Dealing with a leaking washing machine can be daunting, but with the right approach and tools, many issues can be resolved easily. Regular maintenance and timely inspections can go a long way in preventing leaks.
Remember, while DIY repairs can save money, knowing when to seek professional help is crucial to avoid causing further damage to your appliance.
This section may contain affiliate links. We may earn a commission at no extra cost to you.
Tools & Materials
Keep these basic items handy to find the source of the leak and deal with the most common fixes.
- 200mm adjustable spanner – useful for loosening and tightening inlet and drain hose connections safely.
- Phillips and flathead screwdriver set – handy for removing access panels and checking clips, seals and hose clamps.
- 3/4 inch washing machine hose washers – a simple replacement if water is dripping from the hose joints.
- Braided stainless steel washing machine inlet hose – ideal if the existing fill hose is cracked, worn or leaking.
- 230mm spirit level – helps you level the machine properly to reduce movement and splashing during the spin cycle.
- 10 litre bucket – useful for catching leftover water before disconnecting hoses or opening the filter area.
More information
If you want to go a bit further, these guides should help:
- building your essential home repair toolkit – Essential Tool Kit for Home Repairs: What You Need
- selecting the right hammer for home repairs – Choosing the Right Hammer for Your Home Repair Needs
- fixing common tumble dryer issues at home – Cost-Effective Tips to Fix a Tumble Dryer Not Heating Up
- DIY methods to unblock a kitchen sink – How to Unblock a Kitchen Sink Using Common Household Items
- replacing a toilet flapper to fix leaks – How to Replace a Toilet Flapper to Stop Running Water