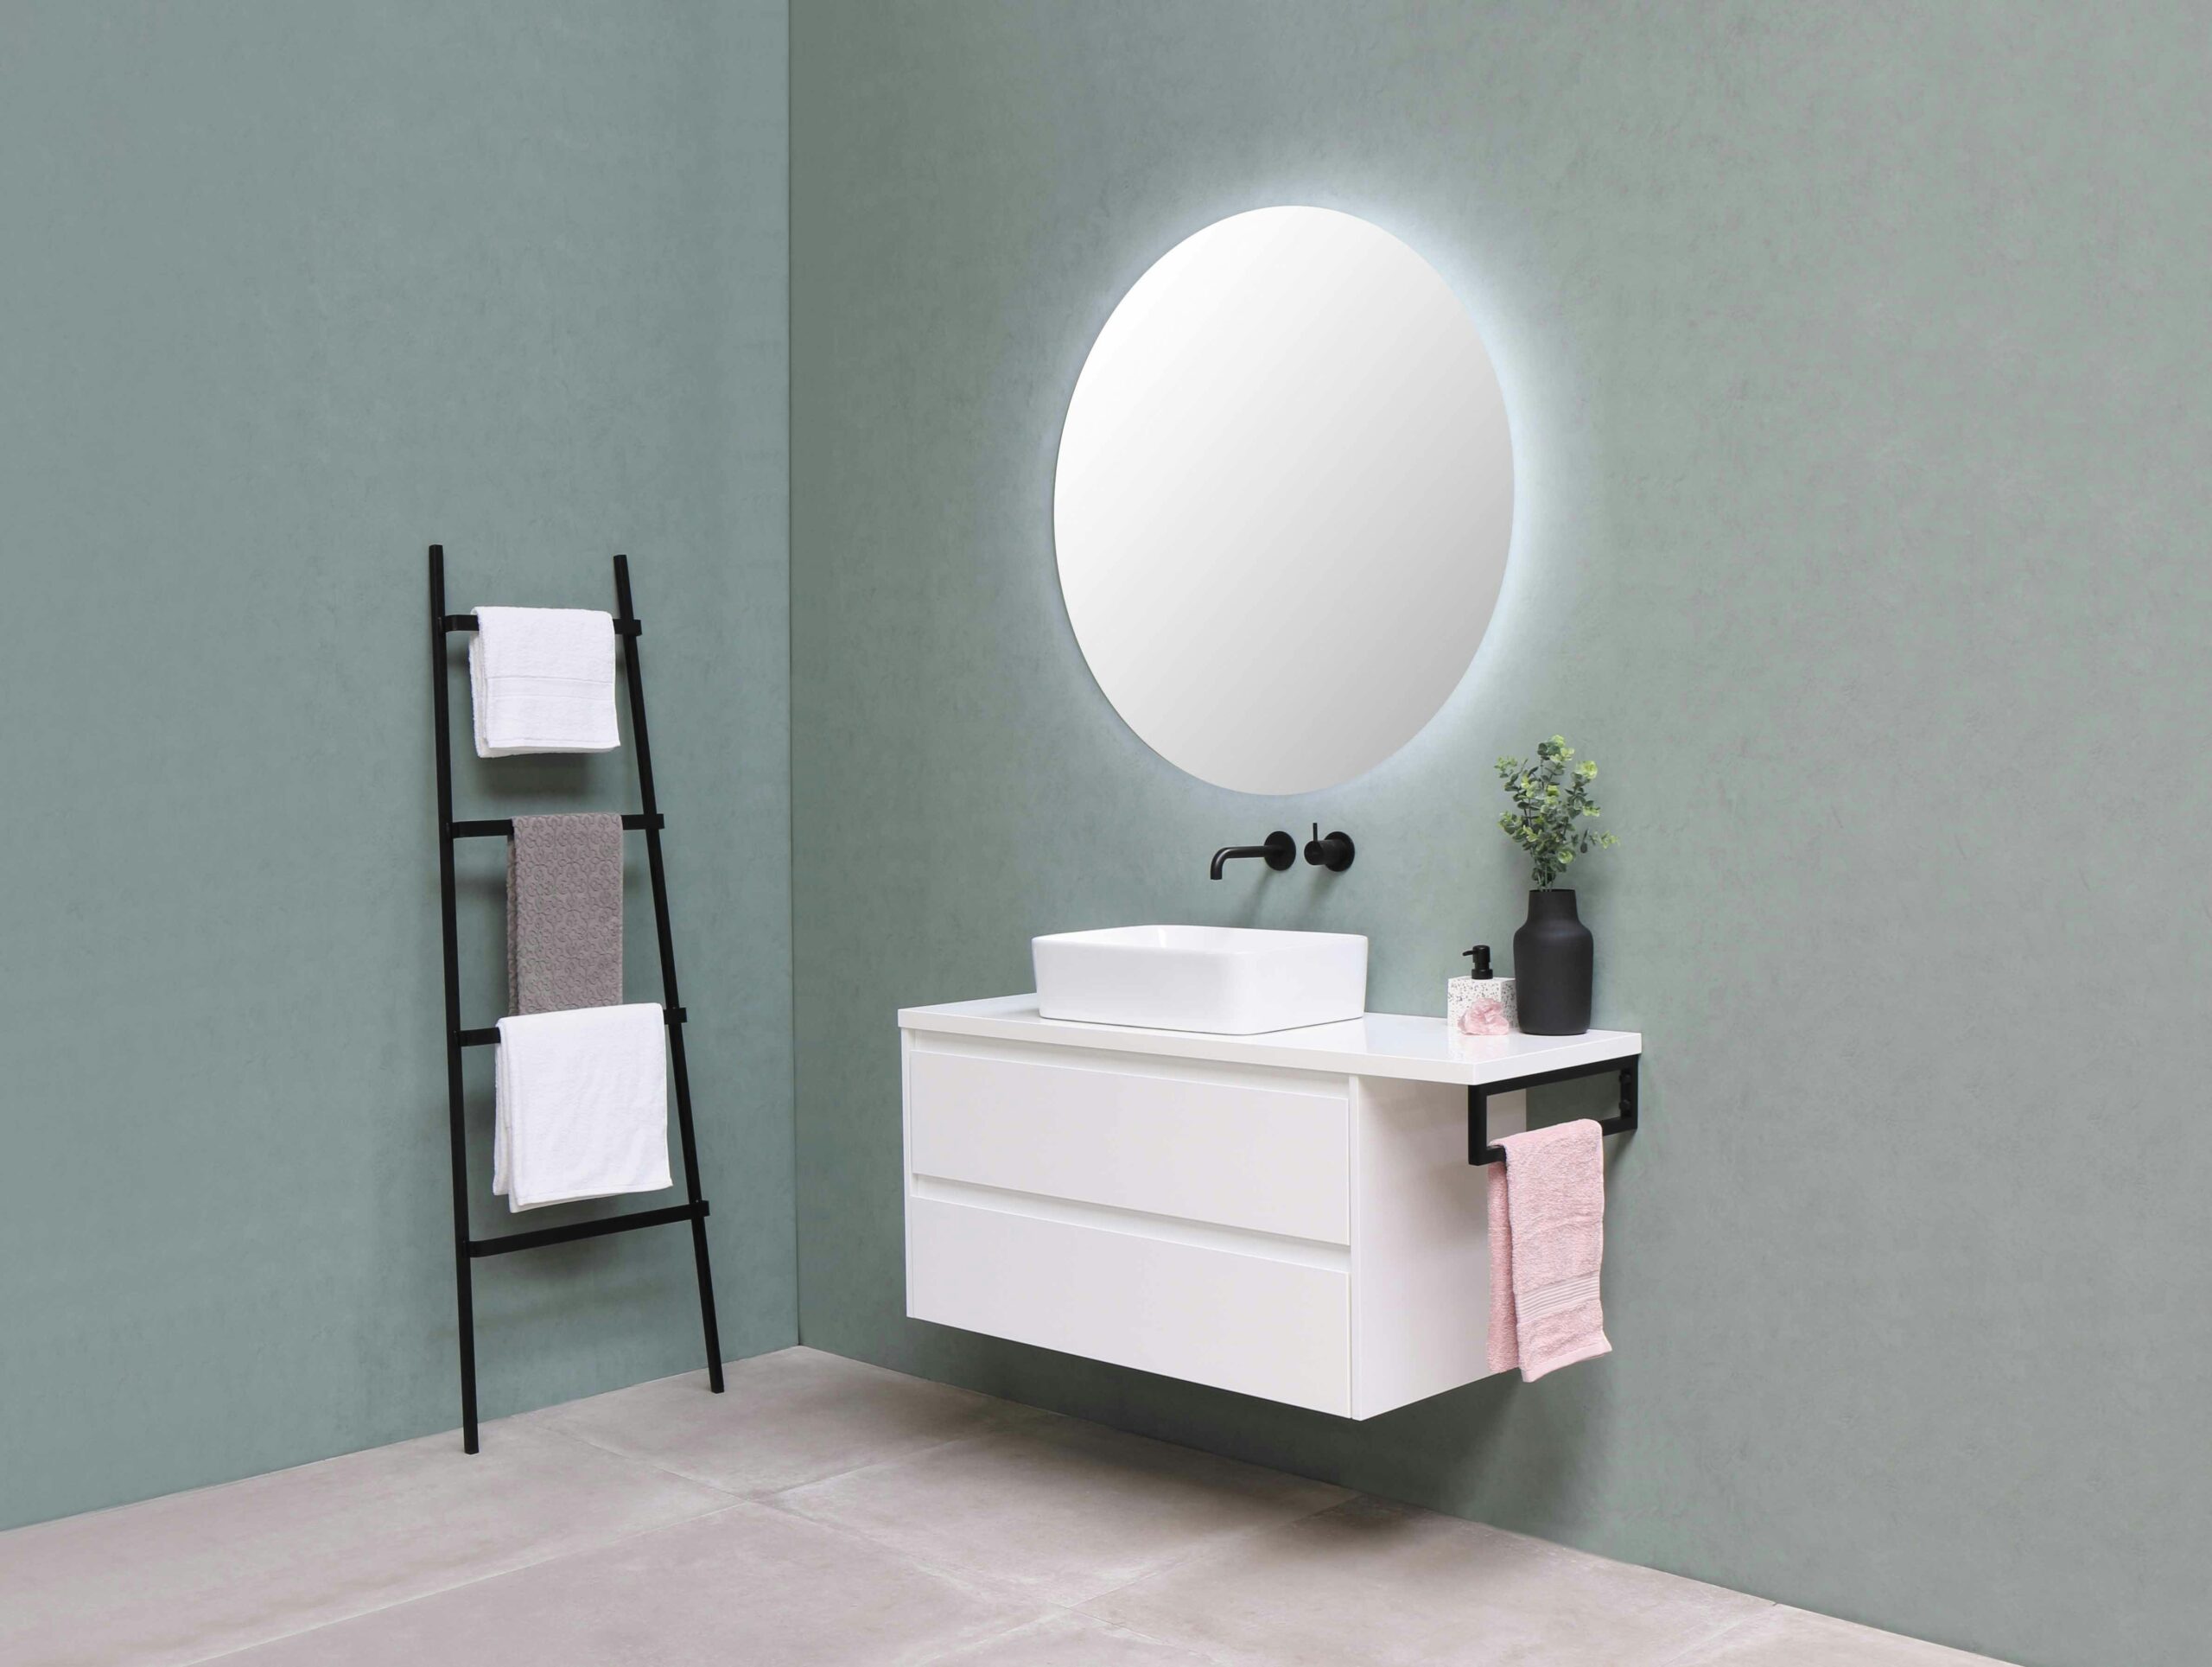
How to Install a Shelf in Your Bathroom for Extra Storage
Photo by Sanibell BV on Unsplash
“`html
How to Install a Shelf in Your Bathroom for Extra Storage
Adding a shelf to your bathroom can transform your space by creating additional storage and bringing in a touch of elegance. Whether you’re looking to declutter your countertops or highlight decorative items, installing a shelf is a rewarding project you can accomplish with a little patience and the right tools. Follow these step-by-step instructions to effortlessly add a shelf to your bathroom and maximise your space.
What You’ll Need
- Floating shelf kit (available at most DIY stores)
- Spirit level
- Measuring tape
- Pencil
- Drill with appropriate drill bits
- Wall anchors and screws (usually included with shelf kit)
- Screwdriver
- Stud finder (optional but recommended for heavier shelves)
Step-by-Step Guide
1. Decide on the Placement
Before drilling any holes, decide where you want your shelf to be. Consider both the height and length of the shelf, ensuring it will not interfere with existing fixtures. Use a pencil to mark the position of the shelf on the wall.
2. Find Your Wall Studs
For a secure installation, it’s ideal to mount your shelf brackets into the wall studs. Use a stud finder to detect and mark the locations of the studs on your wall. If you’re mounting onto tile, ensure the tiles are securely attached; otherwise, look for other suitable areas.
3. Mark Your Drilling Spots
Based on where you’ve marked the wall studs, align the shelf brackets and use your pencil to mark where the screws will go. Double-check that the marks are level by using your spirit level—an uneven shelf could be an eyesore!
4. Drill the Holes
Using a drill bit that matches the size of your wall anchors, carefully drill holes into the spots you marked. If you’re not drilling into studs, insert the wall anchors into these holes to ensure your shelf has the proper support.
5. Attach the Brackets
Line up the brackets with the drilled holes and attach them to the wall using screws. Make sure they are tightly secured; you don’t want your shelf unexpectedly giving way!
6. Mount Your Shelf
Once the brackets are firmly in place, simply slide or place your shelf onto the supports, making sure it’s properly balanced and aligned. Most floating shelves include a locking mechanism or screws to secure them to the brackets—follow the manufacturer’s instructions for the best results.
7. Test Your Installation
Before loading your shelf with items, gently test its stability by giving it a light nudge. It should feel rigid and secure. If there’s any wobble, recheck the tightness of the screws or the secure placement of the wall anchors.
Safety Note
When using power tools, always wear appropriate safety gear such as goggles and gloves. Remember to keep your workspace tidy to prevent any accidents. If drilling into tile, proceed cautiously to avoid cracking or shattering the tiles.
Conclusion
Congratulations! You’ve taken a significant step in boosting the functionality and appearance of your bathroom. By investing a little time and effort, you’ve created a solution for additional storage that will serve you well for years to come. Whether you’ve stored spare toiletries to free up cupboard space or elegantly displayed decorative items, your new shelf is both practical and visually appealing. Enjoy your improved bathroom space!
“`
This section may contain affiliate links. We may earn a commission at no extra cost to you.
Tools & Materials
These are the key bits to have ready before fitting a bathroom shelf securely and level.
- Floating bathroom shelf kit — gives you the shelf, brackets and often the main fixings in one set.
- Small spirit level — helps you keep the brackets straight so the shelf does not sit wonky.
- 5m tape measure — useful for setting the shelf height and marking bracket positions accurately.
- Cordless drill driver — makes drilling pilot holes and driving screws into the wall much easier.
- Tile and masonry drill bit set — handy if you need to drill through bathroom tiles or a solid wall cleanly.
- Wall plugs and screws set — provides a secure fixing when you cannot mount directly into a stud.
- Electronic stud finder — helps you locate studs for a stronger fixing, especially for heavier shelves.