How to Install a Cat Flap in a Wooden Door
“`html
How to Install a Cat Flap in a Wooden Door
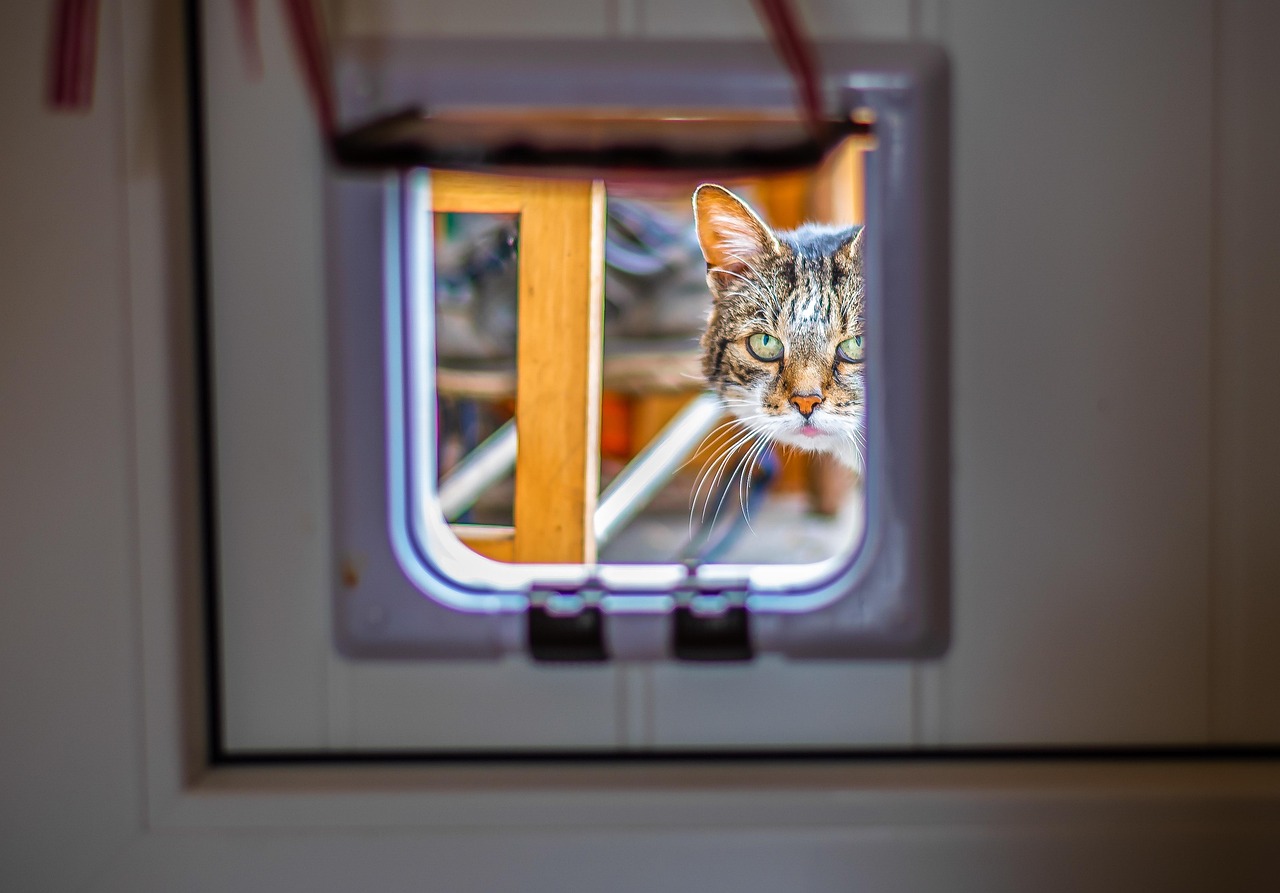
Fitting a cat flap in your wooden door can be a rewarding DIY project that grants your feline friend the freedom to explore the garden while keeping your home secure. Whether you’re a seasoned DIYer or a beginner looking for your next home improvement venture, follow these straightforward steps to give your cat the independence they crave.
Tools and Materials You’ll Need
- Cat flap kit
- Screwdriver
- Drill with wood bits
- Jigsaw
- Masking tape
- Pencil
- Ruler or tape measure
- Sandpaper
- Safety goggles
Step-by-Step Installation Guide
1. Choose the Right Location
Before you start, decide on the ideal location for your cat flap. Ensure it’s at a comfortable height for your cat to easily step through. It’s usually best to install it around 15 cm from the ground. Avoid placing it too close to the door’s edges or any decorative panels.
2. Outline the Cat Flap
Begin by taping the cat flap’s template onto your door with masking tape. Use a pencil to trace the outline on the door. Take extra care to ensure the template is level before proceeding to the next step.
3. Drill Pilot Holes
Put on your safety goggles before drilling. Create pilot holes inside each corner of your marked outline. These holes will serve as starting points for cutting with the jigsaw. Ensure the drill bit is appropriate for wood to avoid splintering.
4. Cut the Opening
Using your jigsaw, cut along the pencilled lines to create the hole for your cat flap. Make steady, careful cuts to ensure the door remains intact. If necessary, use sandpaper to smooth out any rough edges left after cutting.
5. Install the Cat Flap
Insert the cat flap into the hole, following the manufacturer’s guidelines. Most flaps come in two parts which fit through the hole from either side of the door, then screw together. Check that the flap swings freely before tightening all screws firmly.
6. Final Adjustments
Once installed, test the cat flap with some gentle pushes to ensure it opens and closes smoothly. Make minor adjustments if necessary to optimise its movement. Don’t forget to train your cat to use the flap by encouraging them with treats or gentle coaxing.
Safety Considerations
When using power tools like drills and jigsaws, always wear safety goggles to protect your eyes from flying debris. Additionally, ensure your power tools are in good working order and handle them with care to prevent accidents or injury. Remember, always disconnect tools from the power supply before making any adjustments.
Conclusion
Installing a cat flap in a wooden door is a manageable task for most DIY enthusiasts, providing a great addition to your home for the benefit of your pet. By following these steps, you’ll complete the installation with confidence and add a new level of convenience for your beloved cat. Enjoy watching them savour the freedom to roam while you gain peace of mind knowing your home remains secure. Happy DIYing, and may your feline friend find their newfound freedom delightful!
“`
This section may contain affiliate links. We may earn a commission at no extra cost to you.
Tools & Materials
These are the main bits you’ll need to measure, cut and fit a cat flap neatly into a wooden door.
- Cat Mate 4-way locking cat flap – the flap itself, usually supplied with the frame, screws and a cutting template.
- Stanley 5m tape measure – useful for setting the flap at the right height and keeping it centred on the door.
- FrogTape masking tape – helps hold the template in place and can reduce splintering around the cut line.
- Cordless drill with wood drill bit set – needed to make the pilot holes in the corners before using the jigsaw.
- Bosch jigsaw with wood blades – makes it much easier to cut out the opening cleanly in a timber door.
- 120 grit sandpaper for wood – smooths the cut edges so the cat flap frame sits flush and tidy.
- Wrap-around safety goggles – protects your eyes from sawdust and wood chips while drilling and cutting.