How to Replace a Broken Light Switch Safely
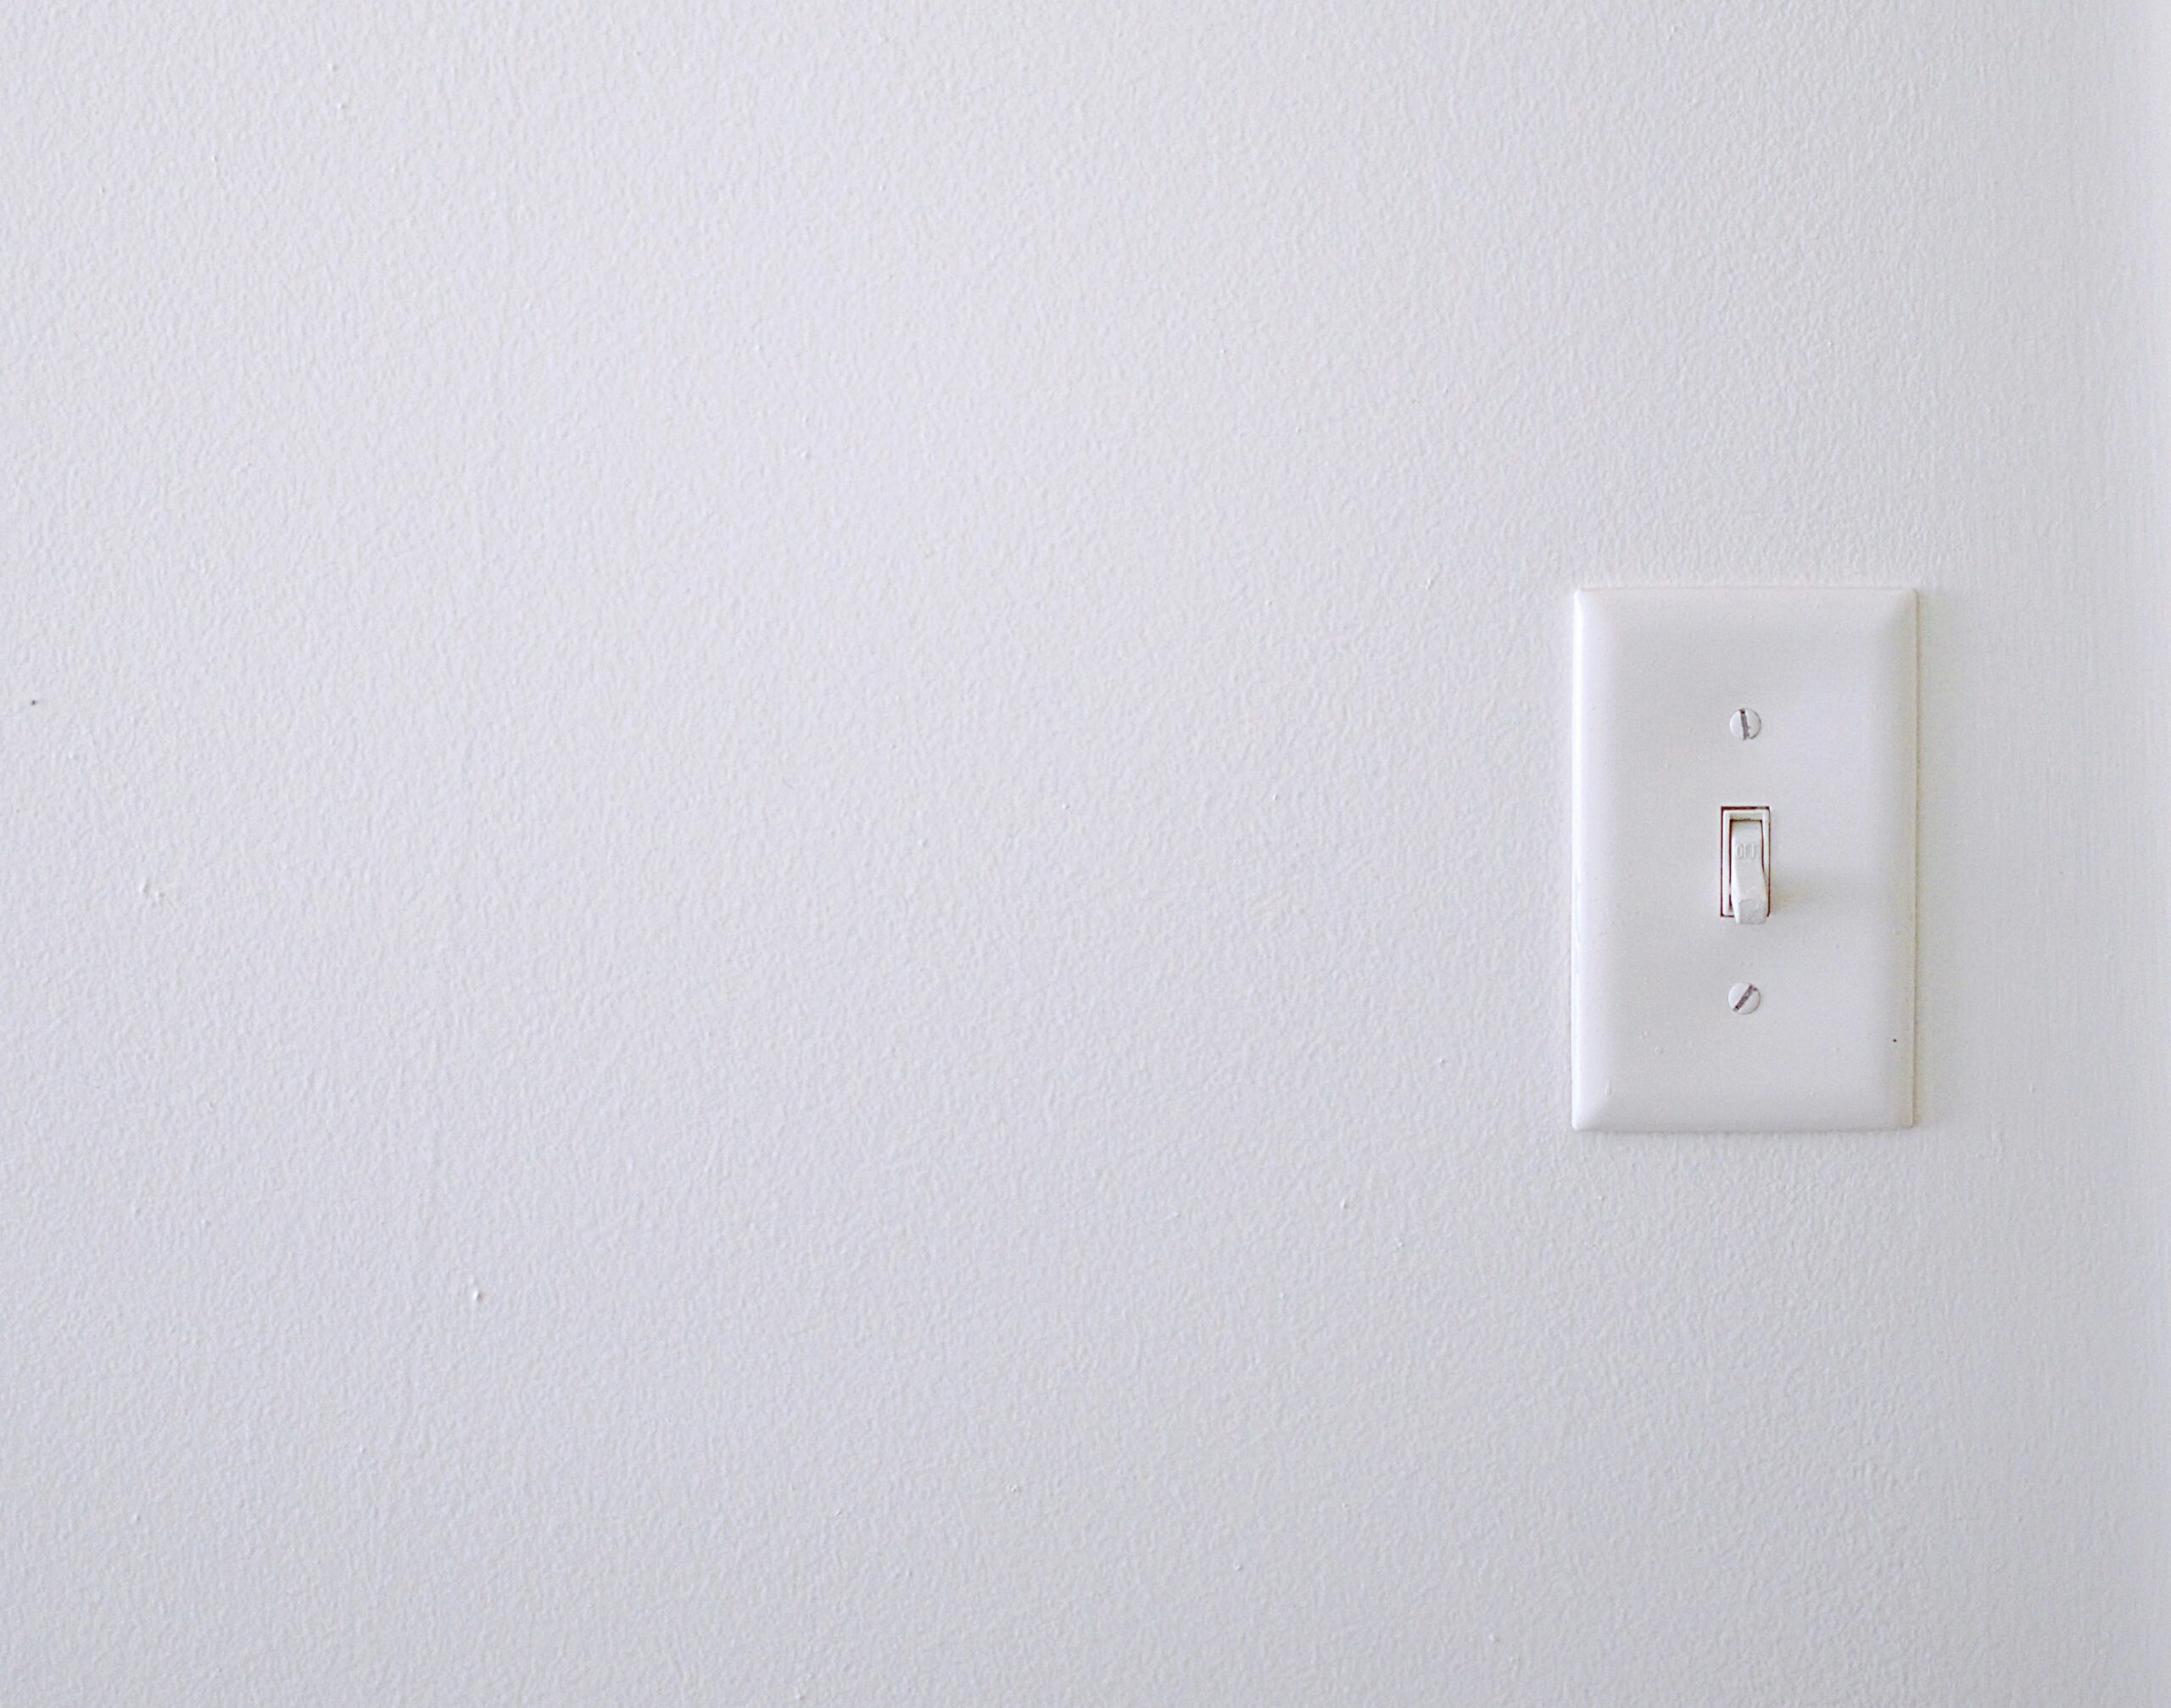
Photo by Isabella Fischer on Unsplash
A malfunctioning light switch can be both inconvenient and potentially hazardous. Whether your switch is sticking, sparking, or failing to turn on the light, replacing it can restore functionality and safety to your home.
This guide will provide you with straightforward instructions on how to replace a broken light switch safely and efficiently, ensuring you can tackle this task with confidence.
Tools Required
- Screwdriver
- Voltage tester
- Replacement light switch
- Wire strippers
- Electrical tape
Safety Warnings
- Always turn off the power at the circuit breaker before working on electrical systems.
- Use a voltage tester to ensure there is no power to the switch before touching any wires.
Why This Problem Happens
Light switches can wear out over time due to frequent use, causing them to malfunction or become unsafe. Internal components may degrade, leading to poor connections and sparking.
Faulty wiring or loose connections can also cause a switch to fail. In some cases, physical damage to the switch can occur, necessitating replacement.
Step-by-Step Instructions
Step 1: Turn Off Power to the Circuit
Locate your home’s circuit breaker panel and switch off the breaker controlling the light switch. Confirm the power is off using a voltage tester.
Step 2: Remove the Old Switch
Unscrew the switch plate and set it aside. Carefully unscrew the switch from the electrical box, pulling it out gently to access the wires.
Step 3: Disconnect the Wiring
Note the wiring configuration before disconnecting. Use a screwdriver to loosen the screws holding the wires and remove them. If needed, use wire strippers to trim and prepare the wires for the new switch.
Step 4: Install the New Switch
Connect the wires to the new switch, ensuring they match the previous configuration. Tighten the screws securely and wrap exposed wire connections with electrical tape for safety.
Step 5: Reattach the Switch and Test
Screw the switch back into the electrical box and replace the switch plate. Turn the power back on at the circuit breaker and test the switch to ensure it’s working correctly.
Common Mistakes to Avoid
- Failing to double-check that the power is off before beginning work.
- Connecting wires incorrectly, which can cause the switch not to function or create a hazard.
Troubleshooting Tips
Light doesn’t turn on after replacement.
Check the wiring connections and ensure the switch is properly installed.
Switch feels loose or wobbly.
Make sure all screws are tightened and the switch is securely mounted.
Frequently Asked Questions
Can I replace a light switch with a dimmer switch?
Yes, but ensure the dimmer switch is compatible with your lighting fixtures and follow the installation instructions.
What if I see sparks when using my light switch?
Sparks can indicate a serious issue. Turn off the power and replace the switch immediately.
Do I need special tools to replace a light switch?
Basic tools like a screwdriver and voltage tester are sufficient for most switch replacements.
How can I identify the correct circuit breaker?
The circuit breaker panel should have labels indicating which breaker controls each area of the house.
Is it safe to replace a light switch myself?
Yes, if you follow safety precautions and instructions carefully. If unsure, contact a professional electrician.
When to Call a Professional
- If you’re uncomfortable working with electrical systems or if the switch replacement doesn’t resolve the issue, it’s wise to contact a licensed electrician.
Final Thoughts
Replacing a broken light switch is a manageable task that can enhance the safety and functionality of your home. It requires careful attention to detail and adherence to safety protocols.
Always prioritise safety when dealing with electrical systems. If any doubts arise during the process, seeking professional advice is the best course of action.
This section may contain affiliate links. We may earn a commission at no extra cost to you.
Tools & Materials
Get these essentials ready before you isolate the circuit and replace the faulty switch.
- 1 gang 2 way light switch – a common UK replacement for a standard broken wall switch.
- Insulated Pozidriv and slotted screwdriver set – useful for removing the faceplate, loosening terminals and securing the new switch.
- Non-contact voltage tester – helps you confirm the wiring is dead before touching any conductors.
- Wire strippers – handy if the cable ends need trimming and re-stripping for a clean connection.
- Electrical insulation tape – useful for protecting and tidying exposed sections while refitting the switch.
More information
If you want to go a bit further, these guides should help:
- safe guide to replacing a broken light switch – How to Safely Replace a Broken Light Switch
- how to troubleshoot flickering lights at home – Troubleshooting Flickering Lights in Your Home
- quick method to unclog a dishwasher drain – How to Unclog a Dishwasher Drain Quickly
- steps to fix a leaking kitchen tap – How to Fix a Leaking Tap in Your Kitchen
- easy solutions for fixing a sticking door – Simple Fixes for a Sticking Door