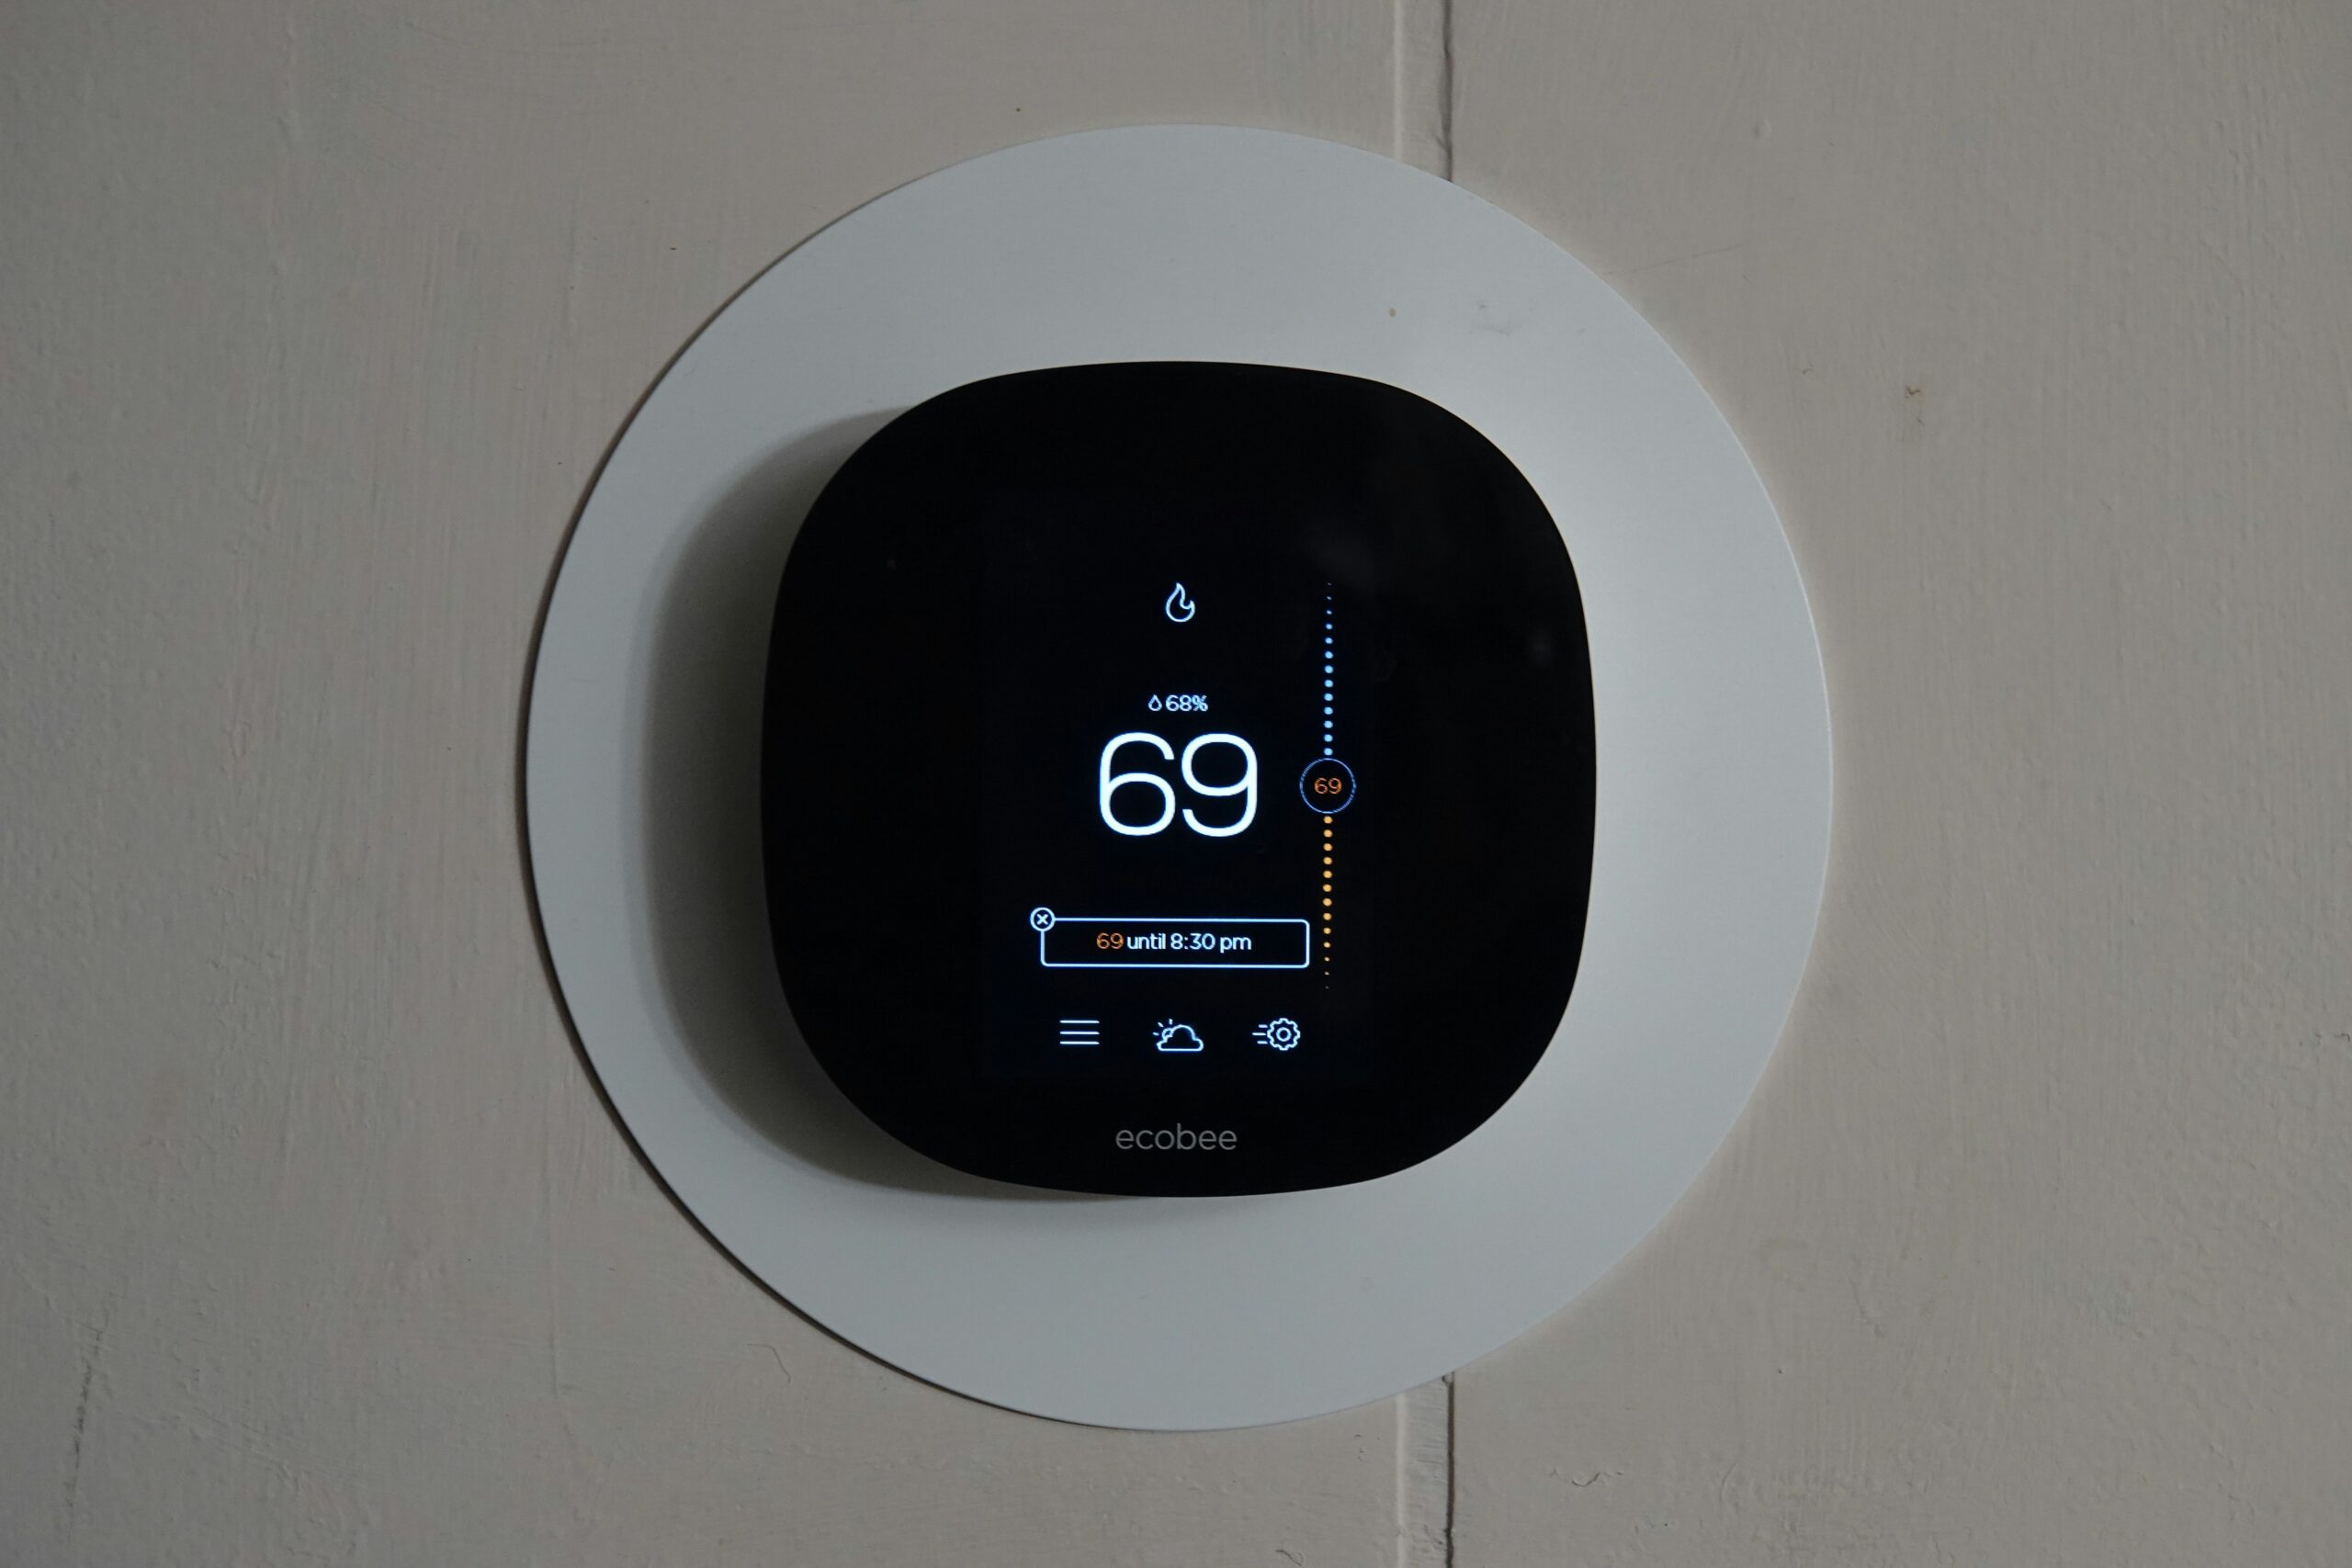
Understanding and Replacing a Faulty Thermostat
A faulty thermostat can disrupt your home’s heating system, leading to uncomfortable temperatures and increased energy bills. Understanding how your thermostat works and knowing when to replace it can save you both time and money.
This guide will walk you through diagnosing a faulty thermostat and provide clear steps to replace it safely and efficiently.
Tools Required
- Screwdriver set
- Voltage tester
- Replacement thermostat
- Small pliers
- Wire nuts
Safety Warnings
- Always turn off the power to the thermostat at the circuit breaker before starting.
- Handle wiring with care to avoid electric shock.
- Ensure the new thermostat is compatible with your heating system.
Why This Problem Happens
Thermostats can fail due to wear and tear over time, especially if they are not regularly maintained. Dust and dirt can accumulate inside, affecting their functionality.
Electrical issues, such as faulty wiring or a blown fuse, can also lead to thermostat failure. Incorrect settings or a miscalibrated thermostat can cause it to operate inefficiently.
Step-by-Step Instructions
Step 1: Turn Off Power
Locate your home’s circuit breaker and switch off the power to the heating system to ensure safety.
Step 2: Remove the Old Thermostat
Unscrew the thermostat cover and gently pull it away from the wall, exposing the wiring.
Step 3: Label the Wires
Use labels or take a photo to remember which wire goes where, as this is crucial when connecting the new thermostat.
Step 4: Install the New Thermostat
Connect the wires to the corresponding terminals on the new thermostat. Secure it to the wall using the provided screws.
Step 5: Power Up and Test
Turn the power back on at the circuit breaker. Set the thermostat to your desired temperature and ensure it activates your heating system properly.
Common Mistakes to Avoid
- Forgetting to turn off the power before starting work.
- Failing to label wires, leading to incorrect wiring connections.
- Not checking compatibility of the new thermostat with your system.
Troubleshooting Tips
Thermostat doesn’t power on
Check the circuit breaker and ensure the wiring connections are secure.
Inaccurate temperature readings
Ensure the thermostat is properly calibrated and free from drafts.
Frequently Asked Questions
How often should a thermostat be replaced?
Generally, thermostats should be replaced every 10 years, but this can vary based on usage and technological advancements.
Can I replace a thermostat with a smart model?
Yes, as long as the smart thermostat is compatible with your heating system.
What are signs of a failing thermostat?
Signs include incorrect temperature readings, frequent cycling, or the system failing to turn on.
Is it difficult to install a thermostat myself?
With careful attention to instructions, most homeowners can replace a thermostat themselves. However, professional help is recommended if unsure.
Why does my thermostat need frequent adjustment?
Frequent adjustments may indicate a miscalibrated thermostat or an issue with your heating system.
When to Call a Professional
- If you encounter complex wiring issues or the new thermostat fails to operate correctly after installation, it’s advisable to seek professional assistance.
Final Thoughts
Replacing a faulty thermostat can greatly improve the efficiency of your heating system and ensure a comfortable home environment. Regular maintenance and timely replacements are key to avoiding temperature issues.
As always, if in doubt, consult with a professional to avoid potential mishaps and ensure your system is working optimally.
This section may contain affiliate links. We may earn a commission at no extra cost to you.
Tools & Materials
These items cover the basics for checking, removing and fitting a replacement thermostat safely.
- Insulated screwdriver set – for removing the old thermostat cover, loosening terminals and fixing the new unit to the wall.
- Non-contact voltage tester – helps you confirm the power is off before touching any thermostat wiring.
- Programmable room thermostat – the replacement part itself, provided it matches your boiler or heating system.
- Wire marker labels – useful for marking each wire before disconnecting the old thermostat, so reconnection is straightforward.
- Needle nose pliers – handy for gripping and guiding small wires neatly into the new thermostat terminals.