How to Change a Lightbulb: A Simple Guide for Students
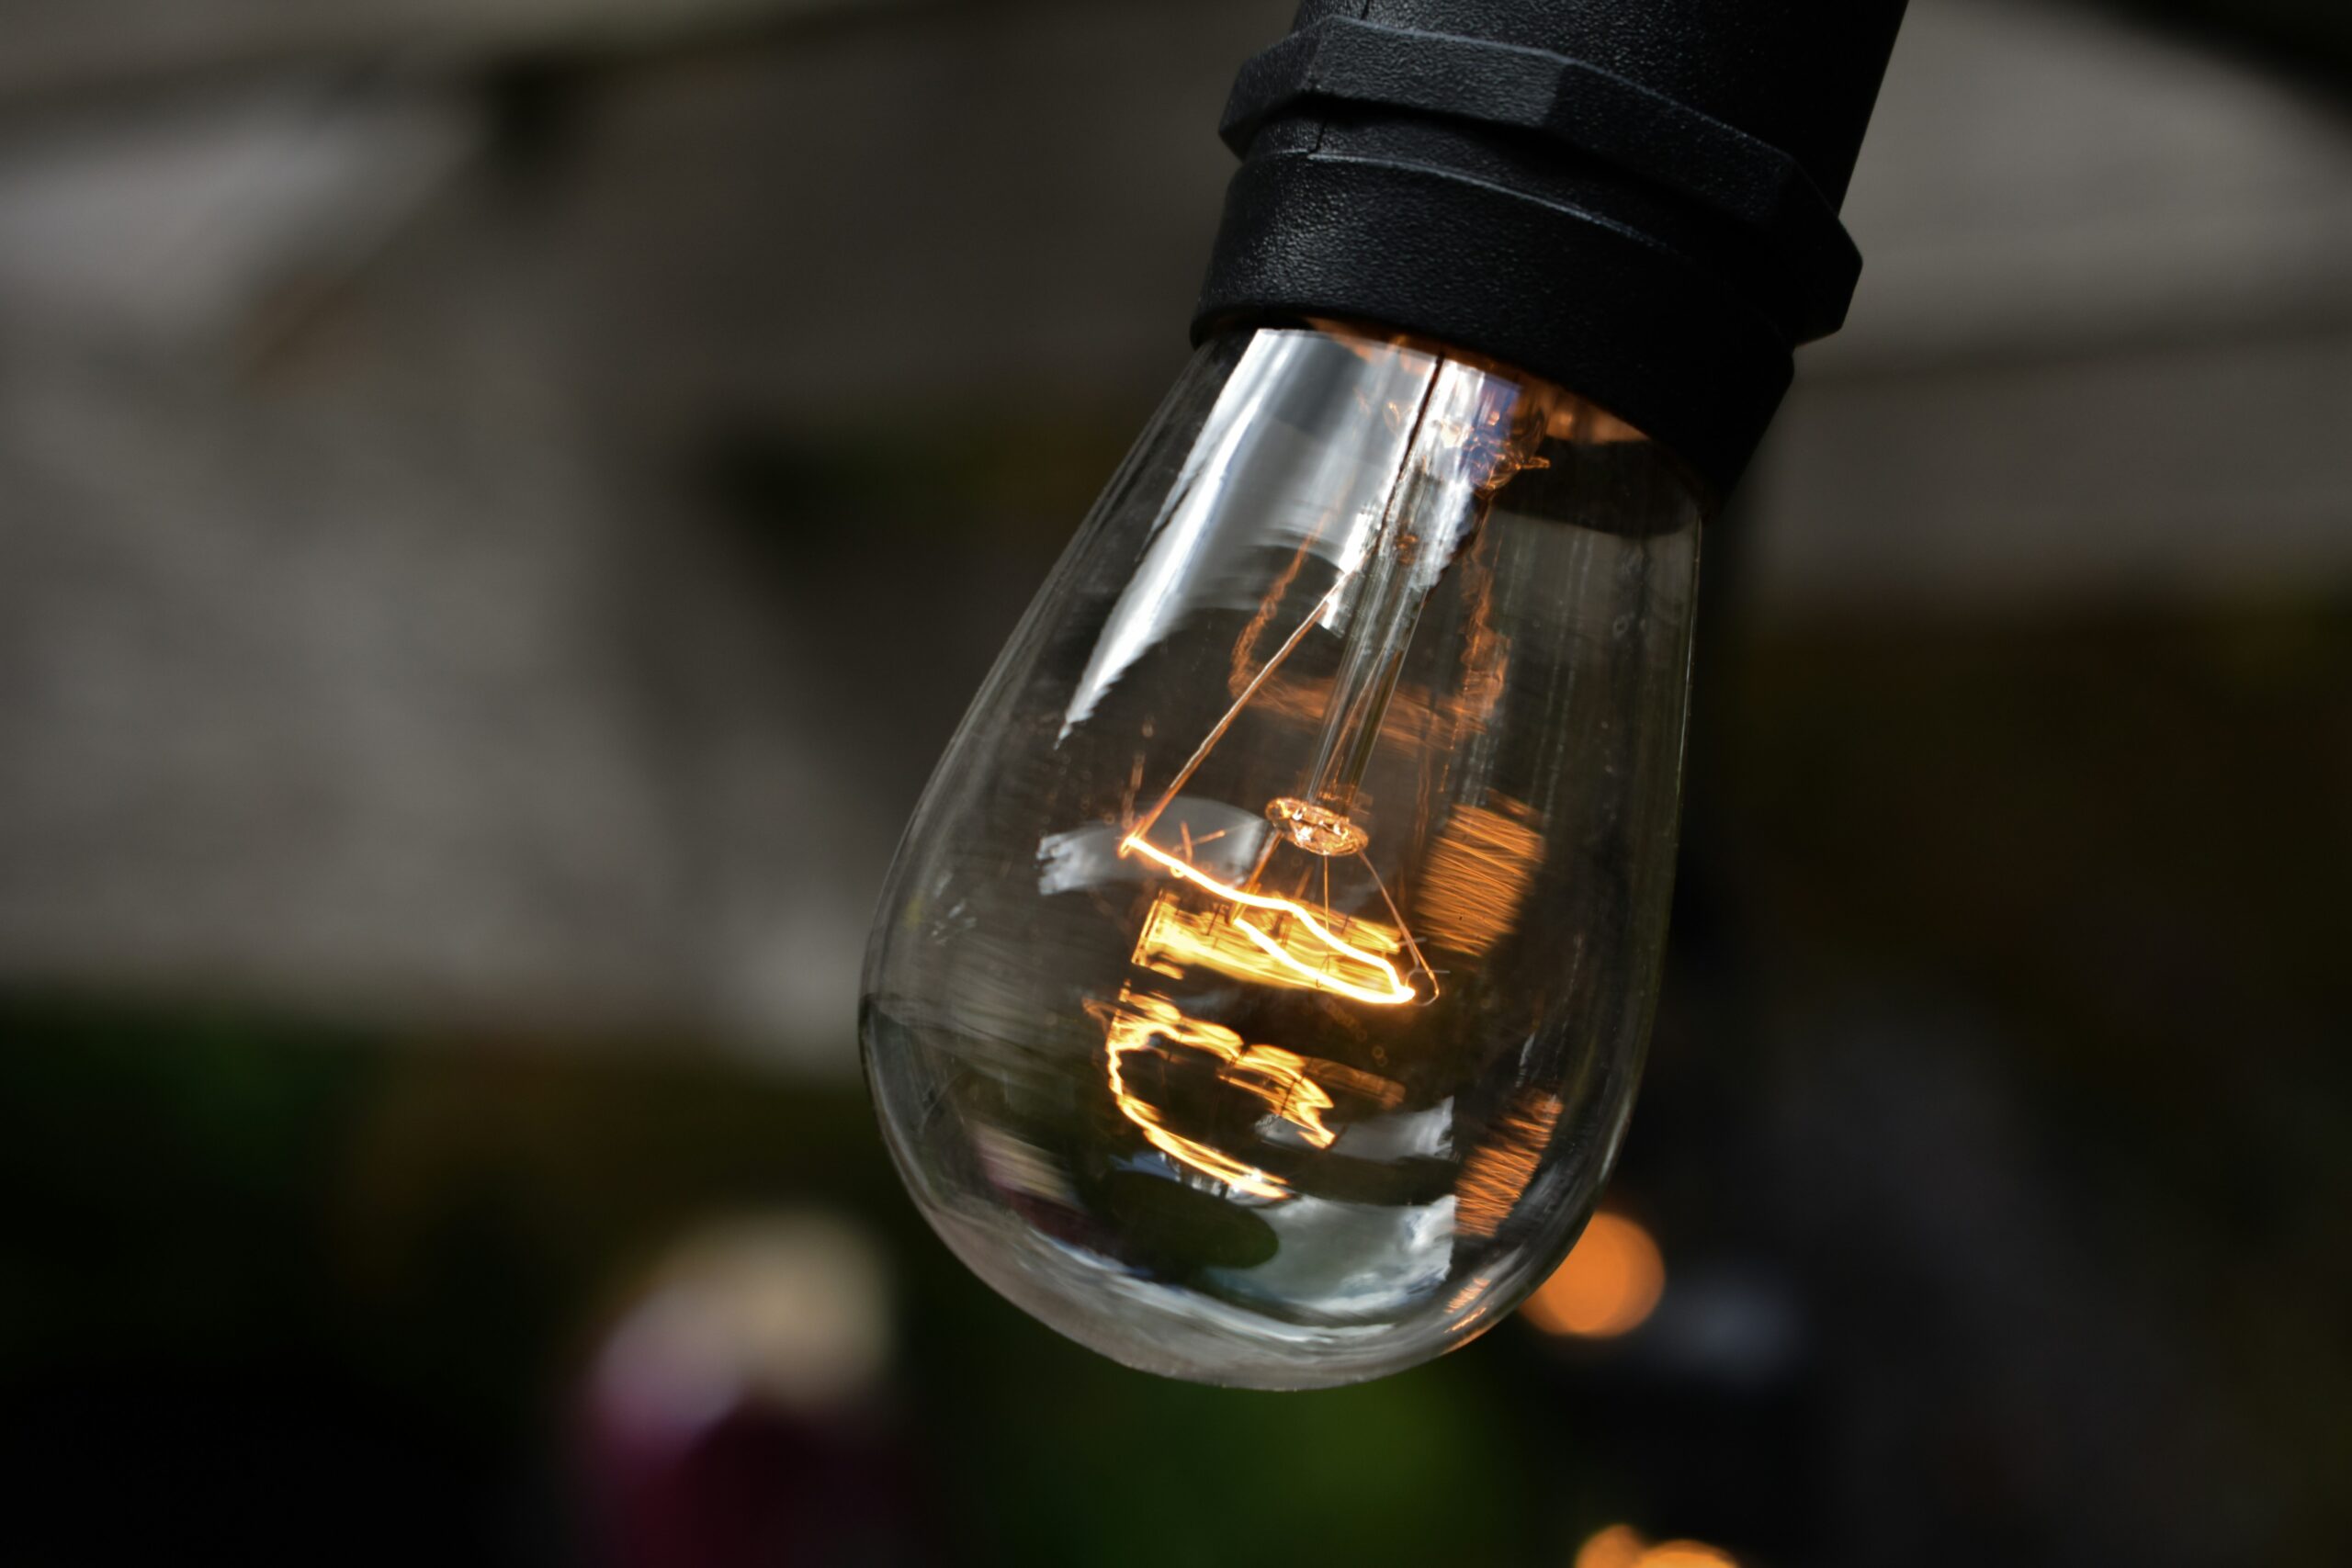
Photo by Shayla Kirby on Unsplash. Download
Photo by Shayla Kirby
on Unsplash.
Download
If you have recently moved into student accommodation, you might encounter the need to change a lightbulb at some point. It’s a common and straightforward task that can make a big difference in your living space. With our guide, you’ll learn how to safely and effectively replace a bulb, saving you time and effort.
In this simple guide, we’ll walk you through the steps, ensuring you have all the knowledge and confidence required to tackle the task on your own. Whether it’s a ceiling fixture or a desk lamp, you’ll be prepared to brighten up your room in minutes.
What You’ll Need
* Links marked with an asterisk are affiliate links to Amazon. We may earn a small commission if you buy through them at no extra cost to you.
Step-by-Step Guide
Step 1: Turn Off the Power
Before you start, ensure the light switch is turned off. This is vital for your safety to prevent any electrical shock. For extra safety, you might consider switching off the power at the circuit breaker.
Step 2: Allow the Bulb to Cool
Light bulbs can become very hot when in use. Allow the bulb to cool for at least five minutes before you attempt to touch it, ensuring you don’t burn yourself.
Step 3: Use a Step Ladder for Ceiling Fixtures
If you’re replacing a bulb in a ceiling fixture, get a stable step ladder. Carefully climb the ladder while maintaining three points of contact for stability. Have someone hold the ladder if possible.
Step 4: Remove the Old Bulb
Gently twist the bulb anticlockwise to unscrew it. If the bulb is sticky, use a cloth to aid your grip. Dispose of the bulb properly, especially if it contains hazardous materials like mercury.
Step 5: Insert the New Bulb
Take the new bulb and screw it in clockwise until it is snug but not overly tight. Ensure you are using the correct wattage and type of bulb for your fixture to avoid any damage.
Step 6: Test the New Bulb
Once the new bulb is securely in place, switch the power back on to test it. If it doesn’t light up, you might need to check if the bulb is fitted correctly or try with a different bulb.
- Ensure you are using the correct type of bulb, such as LED or incandescent.
- Keep a few spare bulbs of different types for future replacements.
- If the bulb is high up, ask a friend to assist you for added safety.
- Use a torch if the fixture is in a dark area.
- Dispose of old and broken bulbs at recycling centres that accept them.
Safety is paramount when changing a lightbulb. Always turn off the power to the light source and allow the bulb to cool before handling it. If you’re not using a step ladder frequently, check its stability before climbing. Furthermore, ensure no liquids are near you to prevent any accidents while performing this task.
Final Thoughts
Congratulations on changing your lightbulb! It’s a practical skill that enhances your self-reliance in your student home. Remember, practise makes perfect, and the more you handle little tasks like these, the more empowered you’ll become to carry out other DIY projects. Keep your toolkit handy and your light fixtures shining brightly!
More information
If you want to go a bit further, these guides should help:
- guide to installing a dimmer switch – How to Install a Dimmer Switch for Cosy Lighting
- easy way to fix squeaky door hinges – How to Repair a Squeaky Door Hinge
- DIY tips for fixing sticking windows – DIY Guide to Fixing a Sticking Window
- how to seal window gaps for insulation – How to Seal Gaps Around Windows for Better Insulation
- beginner’s wallpaper hanging guide – A Beginner’s Guide to Hanging Wallpaper: Tips for a Flawless Finish