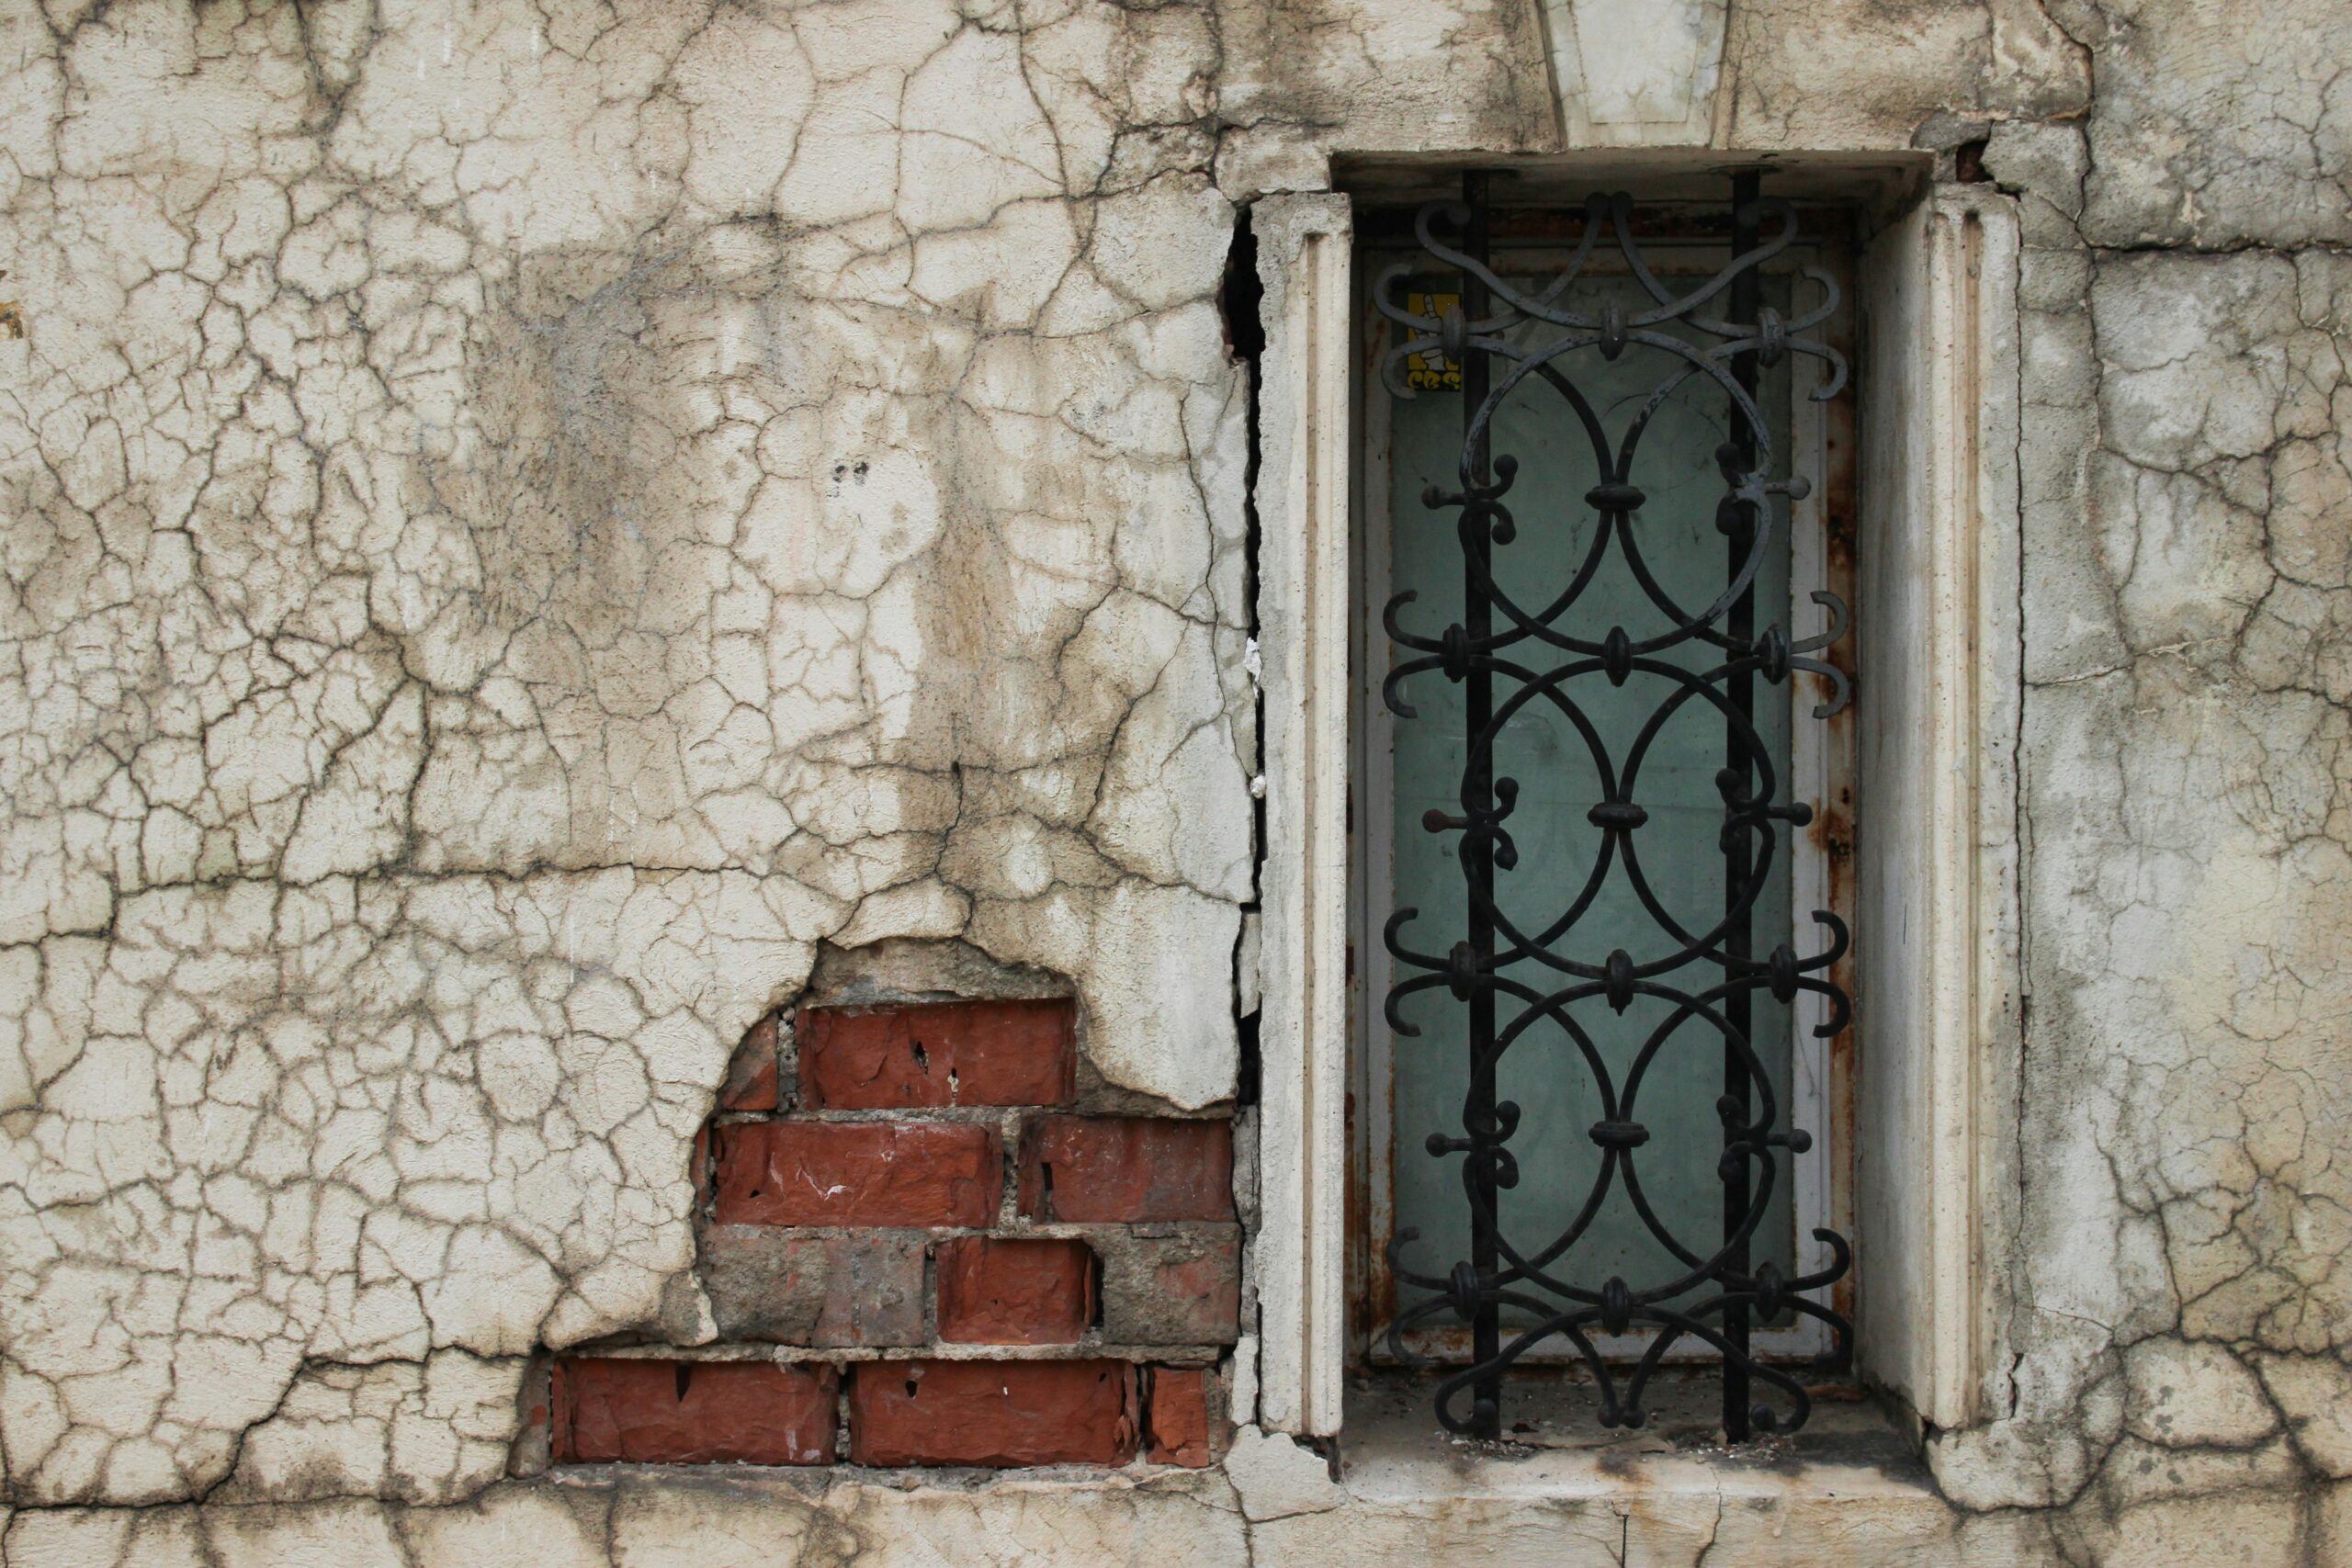
How to Replace a Broken Window Pane Safely
Photo by Sebastian Herrmann on Unsplash
“`html
How to Replace a Broken Window Pane Safely
Fixing a broken window pane can seem daunting at first, but with a bit of patience and the right tools, you can tackle this home improvement task like a pro. Whether you’re keen to save money or improve your DIY skills, we’re here to guide you through the steps needed to safely replace a broken window pane.
Materials You’ll Need
- Replacement glass pane
- Measuring tape
- Glazier’s putty
- Glazier points
- Putty knife
- Protective gloves
- Safety goggles
- Hammer
- Paint (optional)
- Pliers
Step-by-Step Instructions
1. Remove the Broken Glass Safely
Begin by putting on your safety goggles and protective gloves. Carefully remove the broken shards one by one. Avoid using your hands directly; instead, use pliers to grasp and remove pieces. For added safety, place a drop cloth under the window to catch any falling debris.
2. Measure for New Glass
Use a measuring tape to accurately measure the width and height of the window opening. Deduct around 3mm from both dimensions to ensure the new pane fits easily. Take these measurements to your local hardware store or glazier to cut a replacement pane.
3. Remove Old Putty and Points
With the putty knife, scrape away the old putty around the window frame. If it’s stubborn, apply gentle heat with a hairdryer to soften it. Once the putty is removed, use your pliers to take out the glazier points that held the glass in place.
4. Fit the New Glass Pane
Place the new pane into the window frame carefully. Ensure it sits snugly without forcing it, as too much pressure can cause cracks. Insert new glazier points approximately every 15cm along the edge of the pane to secure it in place.
5. Apply Fresh Putty
Roll the glazier’s putty into long, thin strips and press it firmly along the edges of the glass. Smooth it out with the putty knife, sloping it away from the pane to direct water outward when it rains. For a polished finish, blend the putty into any existing window frame caulking.
6. Paint the Putty (Optional)
If desired, once the putty has set, paint it to match your window frame. This not only enhances aesthetics but also adds an extra layer of protection against the elements.
Safety Note
Always prioritise your safety when working with glass. Use protective gear like gloves and goggles to shield against accidents. If at any point you feel uncomfortable or unsure, don’t hesitate to contact a professional for assistance.
Conclusion
By following these steps, you can replace a broken window pane with confidence. Not only will this DIY project enhance the appearance of your home, but it will also maintain its security and energy efficiency. Remember, every DIY task is a learning experience, so take your time and enjoy the process. You’ve got this!
“`
This section may contain affiliate links. We may earn a commission at no extra cost to you.
Tools & Materials
These essentials will help you remove the broken pane safely and reglaze the frame neatly.
- Cut resistant work gloves – protect your hands when lifting out sharp shards and handling the new glass.
- Wrap around safety goggles – help shield your eyes from glass splinters and bits of old putty.
- 5m steel tape measure – lets you measure the opening accurately before ordering the replacement pane.
- Long nose pliers – useful for pulling out stubborn glass fragments and old glazing points.
- 50mm putty knife – handy for scraping away old putty and smoothing the new bead to a clean finish.
- Linseed oil glazing putty – creates the weatherproof seal that secures the pane in a traditional timber frame.
- Diamond glazing points – hold the new glass firmly in place before the putty is applied.