How to Patch Floorboard Holes: A Renovator’s Step-by-Step Guide
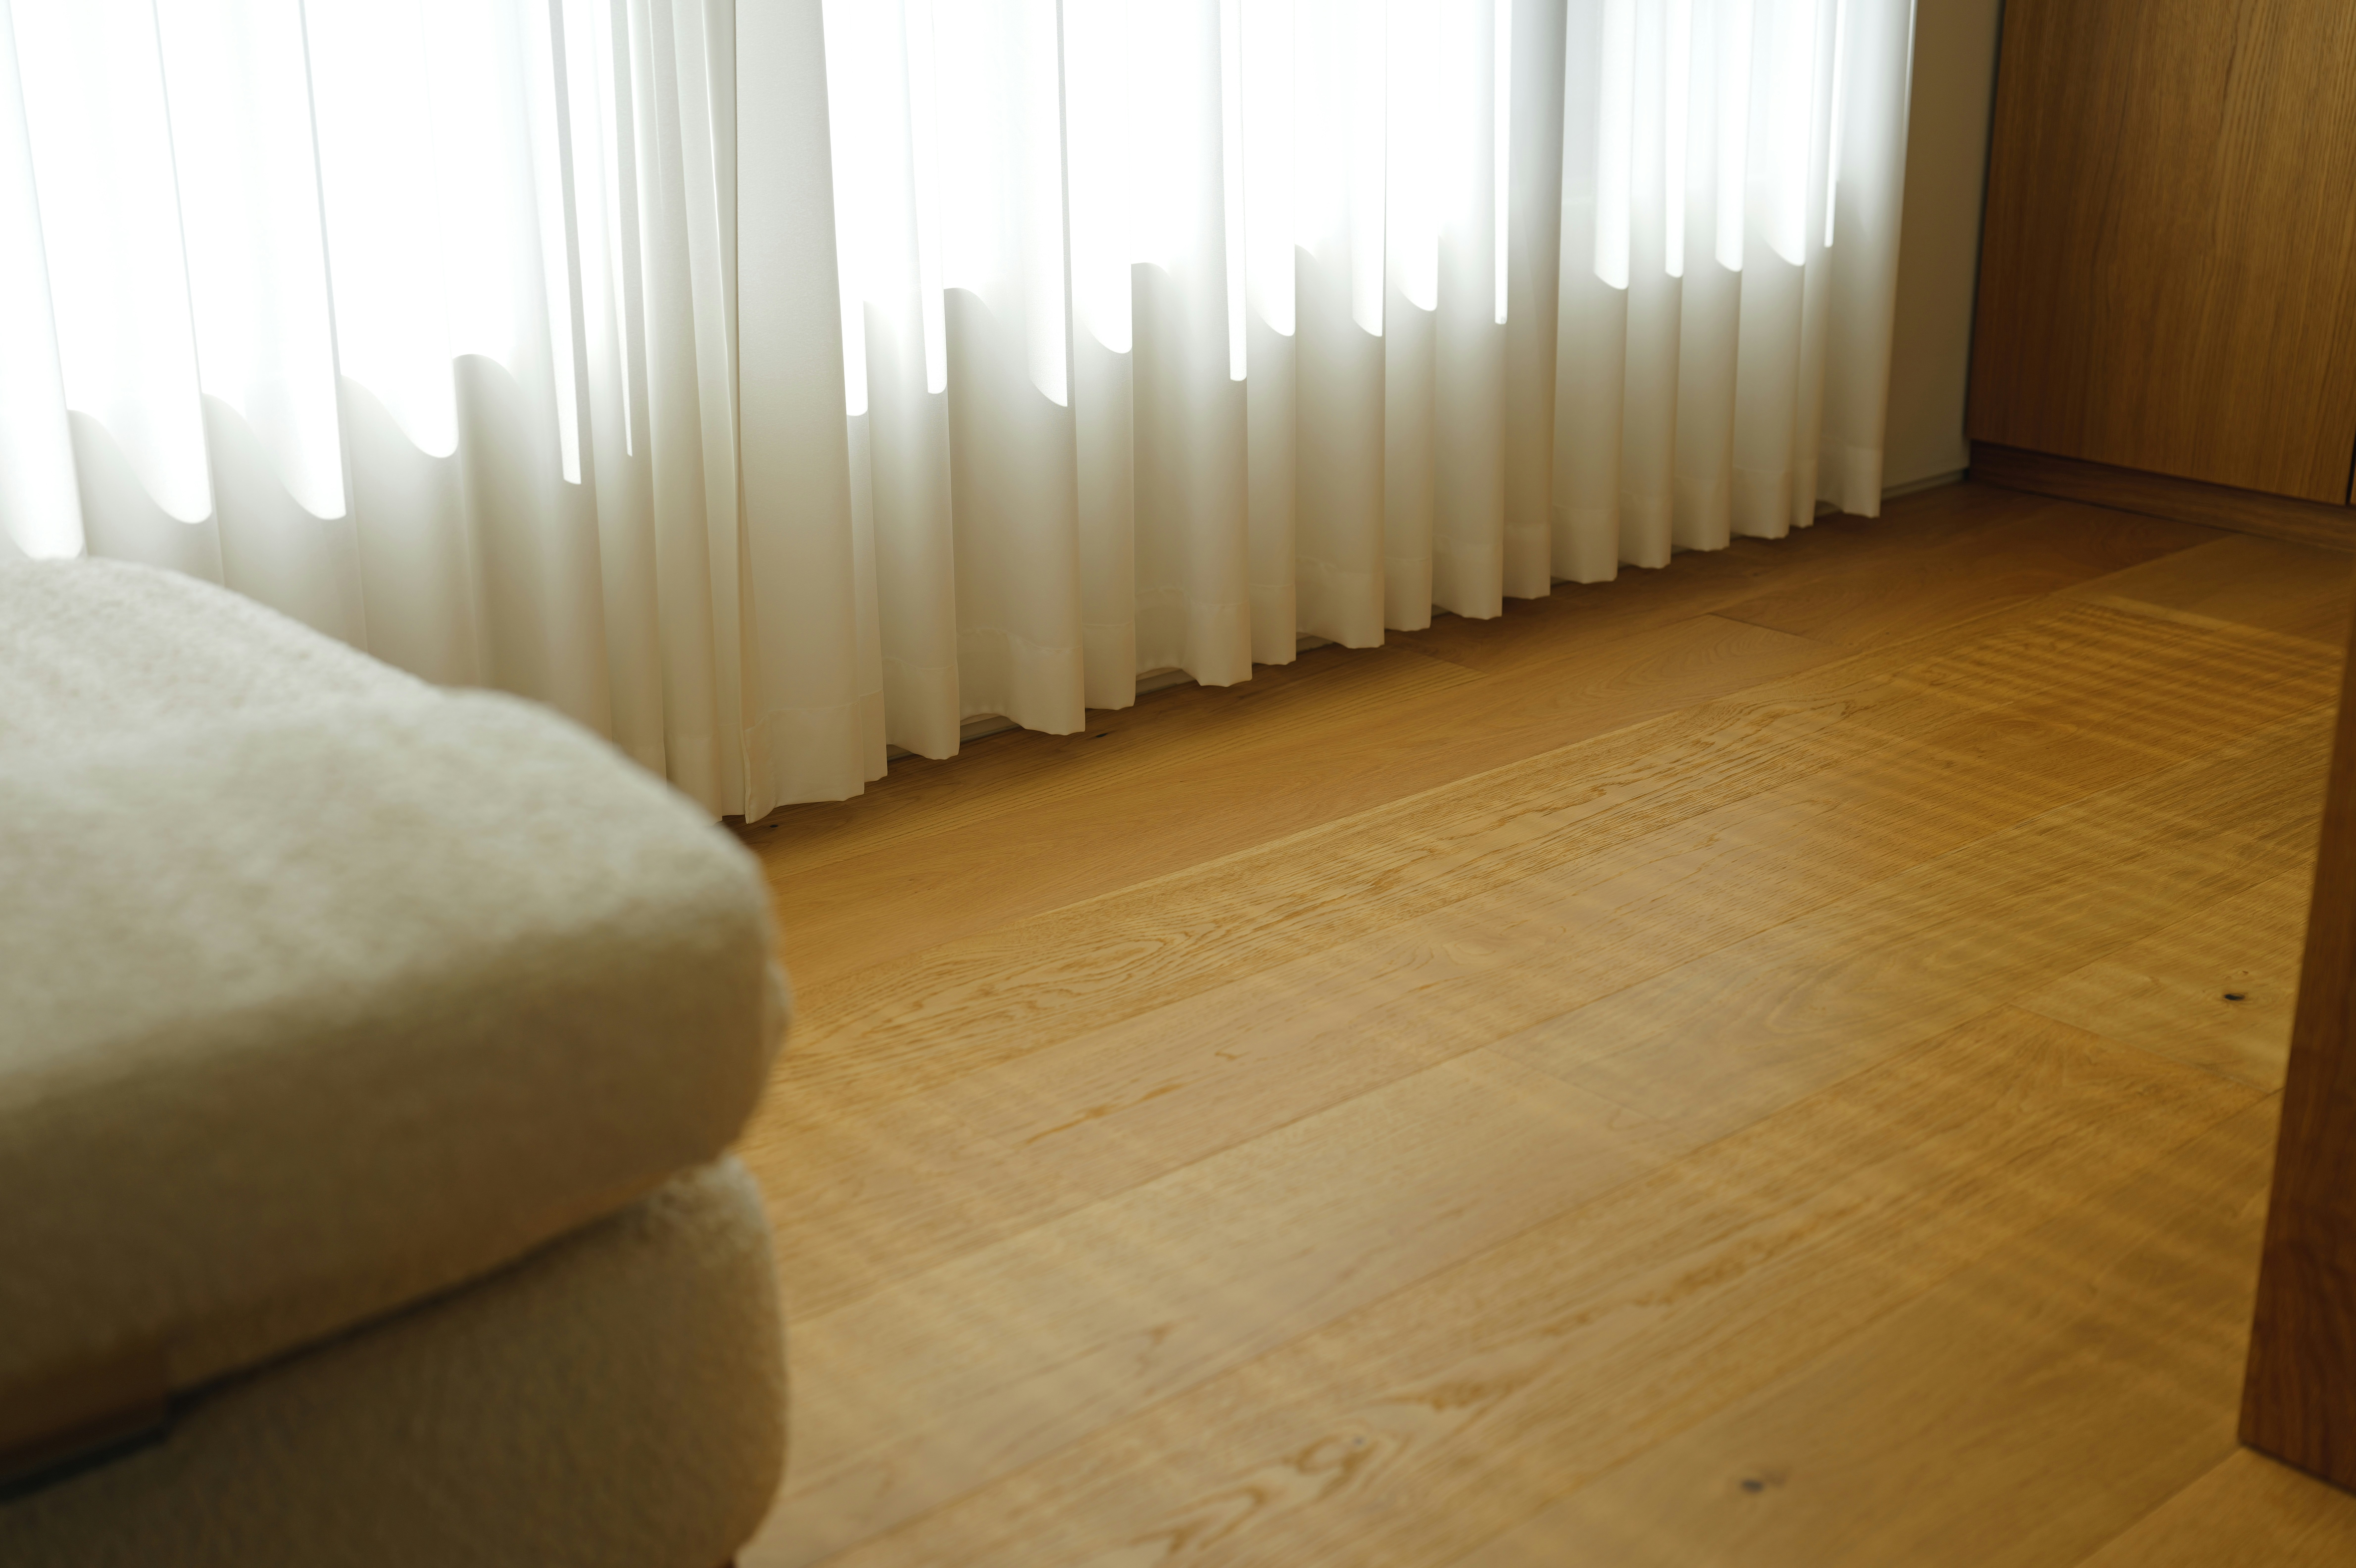
Photo by Jisu Han on Unsplash. Download
Photo by Jisu Han
on Unsplash.
Download
Holes in floorboards can appear after old pipework, removed fixtures or general wear, but they are usually repairable with basic carpentry skills. The best patch depends on the size of the hole and the finish you want.
This guide shows a practical way to make the repair solid and tidy.
What You’ll Need
- Tape measure *
- Handsaw *
- Hammer *
* Links marked with an asterisk are affiliate links to Amazon. We may earn a small commission if you buy through them at no extra cost to you.
Step-by-Step Guide
Step 1: Measure the hole
Check the size and shape of the damaged area, including any weak edges around it. Mark a neat repair line so the patch will sit cleanly.
Step 2: Cut back to sound wood
Trim the damaged section to a regular shape with clean edges. A square or rectangular opening is easier to patch than a rough hole.
Step 3: Cut the patch piece
Use a timber offcut of similar thickness to cut a snug patch. Test-fit it so it sits level with the surrounding floorboard surface.
Step 4: Fix the patch in place
Secure the patch from below or through the board as the floor construction allows. Fill small gaps with wood filler so the repair blends in better.
Step 5: Sand and finish
Once the filler is dry, sand the repair smooth and check the level by hand. Finish to match the surrounding floor so the patch looks neat and durable.
- Cut once to a clean shape rather than trying to fill a ragged hole.
- Use matching thickness timber for the best fit.
- Check for pipes or cables before cutting.
- Seal the patch if the floorboards are being painted or varnished.
Before cutting or nailing, confirm there are no hidden pipes, cables or floor services below the repair area, and wear eye protection when sanding or sawing.
Final Thoughts
A tidy floorboard patch is well within reach with careful measuring and a snug timber insert. Take your time and the repair should blend in well.