How to Build a Barrel Incinerator Safely: A DIY Guide for Homeowners
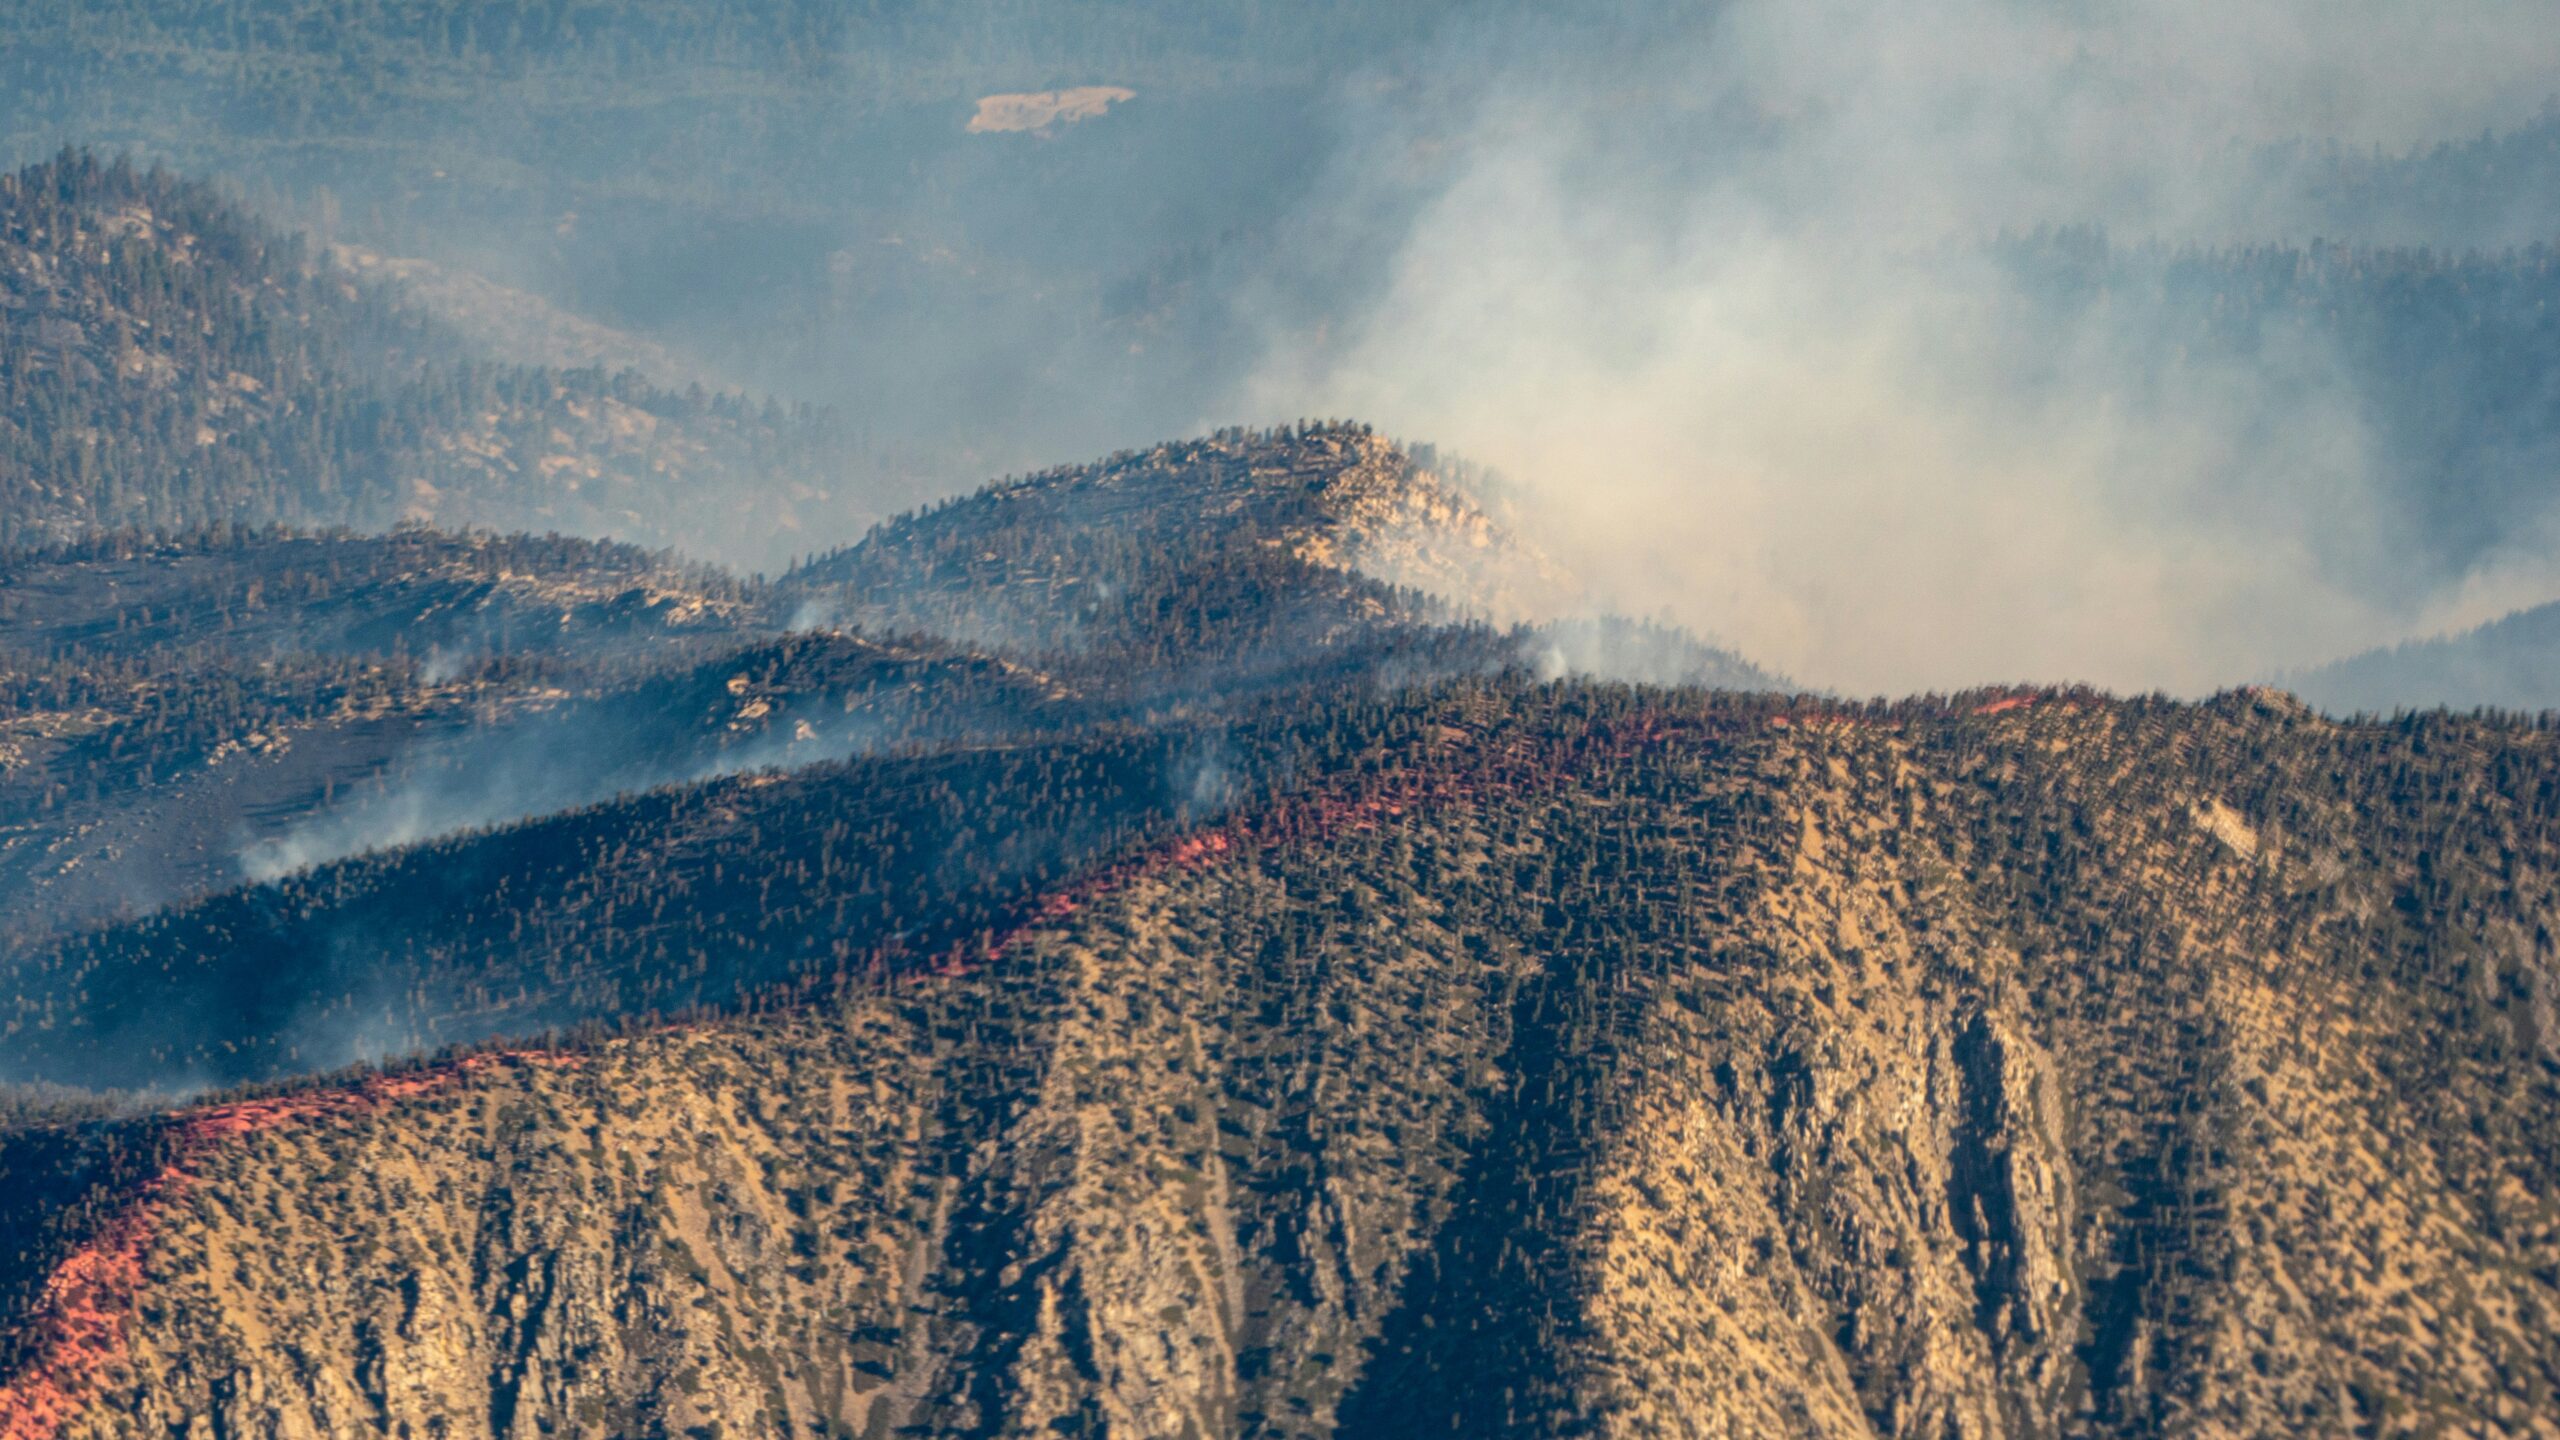
Photo by Patrick Campanale on Unsplash. Download
Photo by Patrick Campanale
on Unsplash.
Download
A barrel incinerator can be useful for controlled burning where local rules allow it, but safety and proper setup come first. Use only if you are permitted to burn waste.
This guide covers a simple barrel build, with a focus on ventilation, stability and safe use.
What You’ll Need
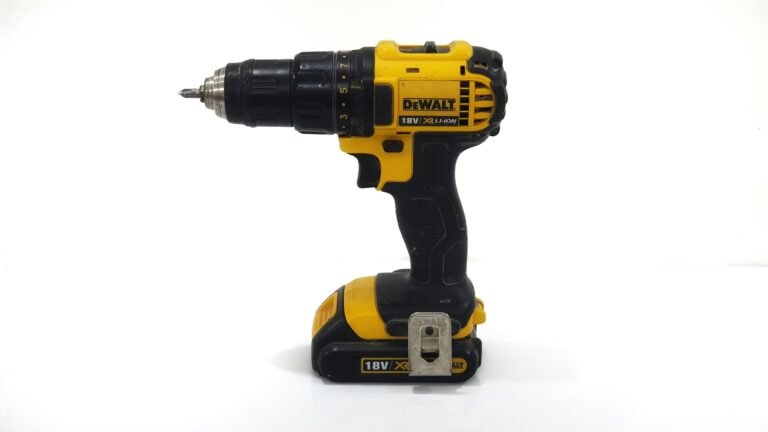
- Drill *
- Metal file *
- Tape measure *
* Links marked with an asterisk are affiliate links to Amazon. We may earn a small commission if you buy through them at no extra cost to you.
Step-by-Step Guide
Step 1: Check local rules first
Before starting, confirm that garden burning is allowed in your area. Never use an incinerator for treated wood, plastics or hazardous waste.
Step 2: Prepare the barrel
Choose a clean steel barrel and remove any residues. Smooth sharp edges with a file so the unit is safer to handle and maintain.
Step 3: Add airflow holes
Drill a pattern of holes around the lower sides to improve airflow. Good ventilation helps the fire burn more cleanly and evenly.
Step 4: Raise and steady the barrel
Mount the barrel on a stable metal stand or legs so air can move underneath. Keep it level and well away from sheds, fences and plants.
Step 5: Use and empty it carefully
Burn small amounts only, never leave the fire unattended and let ash cool fully before removal. Clear ash into a metal container once cold.
- Place the barrel on bare ground, not decking or grass
- Keep water or a hose nearby in case of flare-ups
- Burn only dry, suitable garden waste in small loads
- Check the barrel regularly for rust, warping or loose parts
Use this only outdoors, well away from buildings and neighbours, and never on windy days. Follow local fire and waste rules at all times.
Final Thoughts
A simple barrel incinerator can work well if built and used with care. Safe placement, good airflow and strict fuel choices matter most.