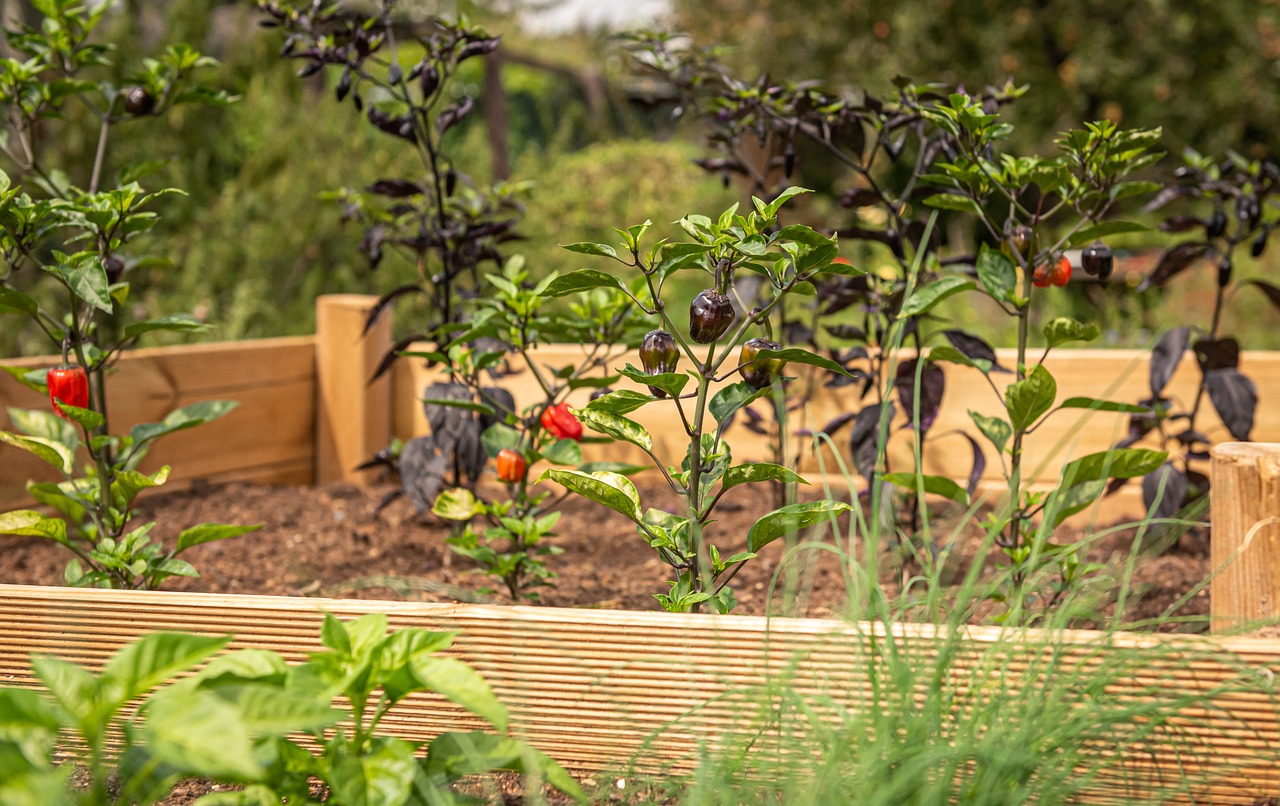
How to Build a Raised Bed for a Kitchen Garden
“`html
Introduction
Have you ever dreamed of having a lush kitchen garden right in your backyard? Building a raised bed is a perfect starting project for beginner and intermediate DIY enthusiasts, and it’s more straightforward than you might think. Not only does it provide an excellent opportunity to grow your own herbs and vegetables, but it also enhances the aesthetics of your garden. This guide will walk you through the steps to construct a durable and effective raised bed garden right here in the UK.
Materials and Tools Needed
Before you begin, gather the following materials and tools:
- Four wooden boards (2x long, 2x short, ideally cedar or pine)
- Galvanised screws
- A drill
- A screwdriver
- A saw (if the wood isn’t pre-cut)
- A measuring tape
- A spirit level
- Landscape fabric
- Soil and compost
Step 1: Choose the Perfect Location
Location is key to a successful kitchen garden. Choose a spot in your garden that receives at least 6-8 hours of sunlight daily. Make sure it’s easily accessible for watering and maintenance. A flat area is preferable to ensure stability.
Step 2: Measure and Cut the Wood
Decide on the size of your raised bed; typically, a 4ft x 8ft bed is manageable and provides adequate space for planting. Use the measuring tape to measure the wood to appropriate lengths if it hasn’t been pre-cut. Cut the boards using your saw if necessary, ensuring all pieces are cut straight and even.
Safety Note: Handling Tools
When using a saw or any power tools, always wear safety goggles and gloves to protect yourself from splinters and debris. Ensure your workspace is clean and well-lit to avoid any accidents.
Step 3: Assemble the Frame
Lay out the boards to form a rectangle, ensuring the corners fit snugly together. Drill pilot holes to prevent the wood from splitting, then use galvanised screws to join the boards at each corner securely. Check with a spirit level to confirm that each side is even.
Step 4: Prepare the Foundation
Once your frame is assembled, position it in your chosen location. Inside the frame, lay down landscape fabric to prevent weeds from invading your garden. This step helps maintain the integrity of your raised bed.
Step 5: Fill the Raised Bed
Fill the bed with a mixture of high-quality soil and compost. A good mixture generally consists of 60% topsoil and 40% compost, which provides nutrients essential for plant growth. Fill the bed until the soil is a couple of inches below the top edge of the bed.
Step 6: Plant Your Kitchen Garden
Now comes the fun part! Choose herbs and vegetables that are popular in UK gardens, such as basil, carrots, and tomatoes. Plant seeds or seedlings as per packet instructions, ensuring they have enough space to grow without overcrowding.
Conclusion
With your raised bed kitchen garden complete, you’re on your way to enjoying home-grown produce right at your fingertips. Remember to water regularly, especially during dry spells, and watch for any signs of pests or disease. Building a raised bed not only offers fresh food but also serves as a rewarding and sustainable activity. Happy gardening!
“`
This section may contain affiliate links. We may earn a commission at no extra cost to you.
Tools & Materials
These essentials will help you measure, build, line and fill a simple raised bed for a kitchen garden.
- Pressure-treated timber boards – suitable for making a durable raised-bed frame that will stand up to UK weather.
- Galvanised 60mm decking screws – useful for securing the corners firmly while resisting rust outdoors.
- 18V cordless drill driver – makes it much easier to drill pilot holes and drive in screws without splitting the wood.
- 5m tape measure – helps you mark out the bed size accurately and check each board before cutting.
- Landscape fabric weed control membrane – lines the base to suppress weeds before you add soil and compost.
- Raised bed topsoil and compost mix – fills the bed with a nutrient-rich growing medium for herbs and vegetables.